Tallyfy automations are simple IF-THEN rules added to templates that automatically adapt running…
Create an automation
Tallyfy automation rules let you build “if-this-then-that” logic so your workflows adapt automatically - no manual adjustments needed.
Every rule has two parts:
- IF a specific event happens (the Condition) - like a task completion, a form field value, or an approval decision…
- THEN Tallyfy runs a defined action (the Action) - like revealing hidden steps, reassigning tasks, or changing deadlines
Example scenario: In an Employee Onboarding process, you want to show different steps based on whether the new hire is a “Field worker” or an “Office worker”.
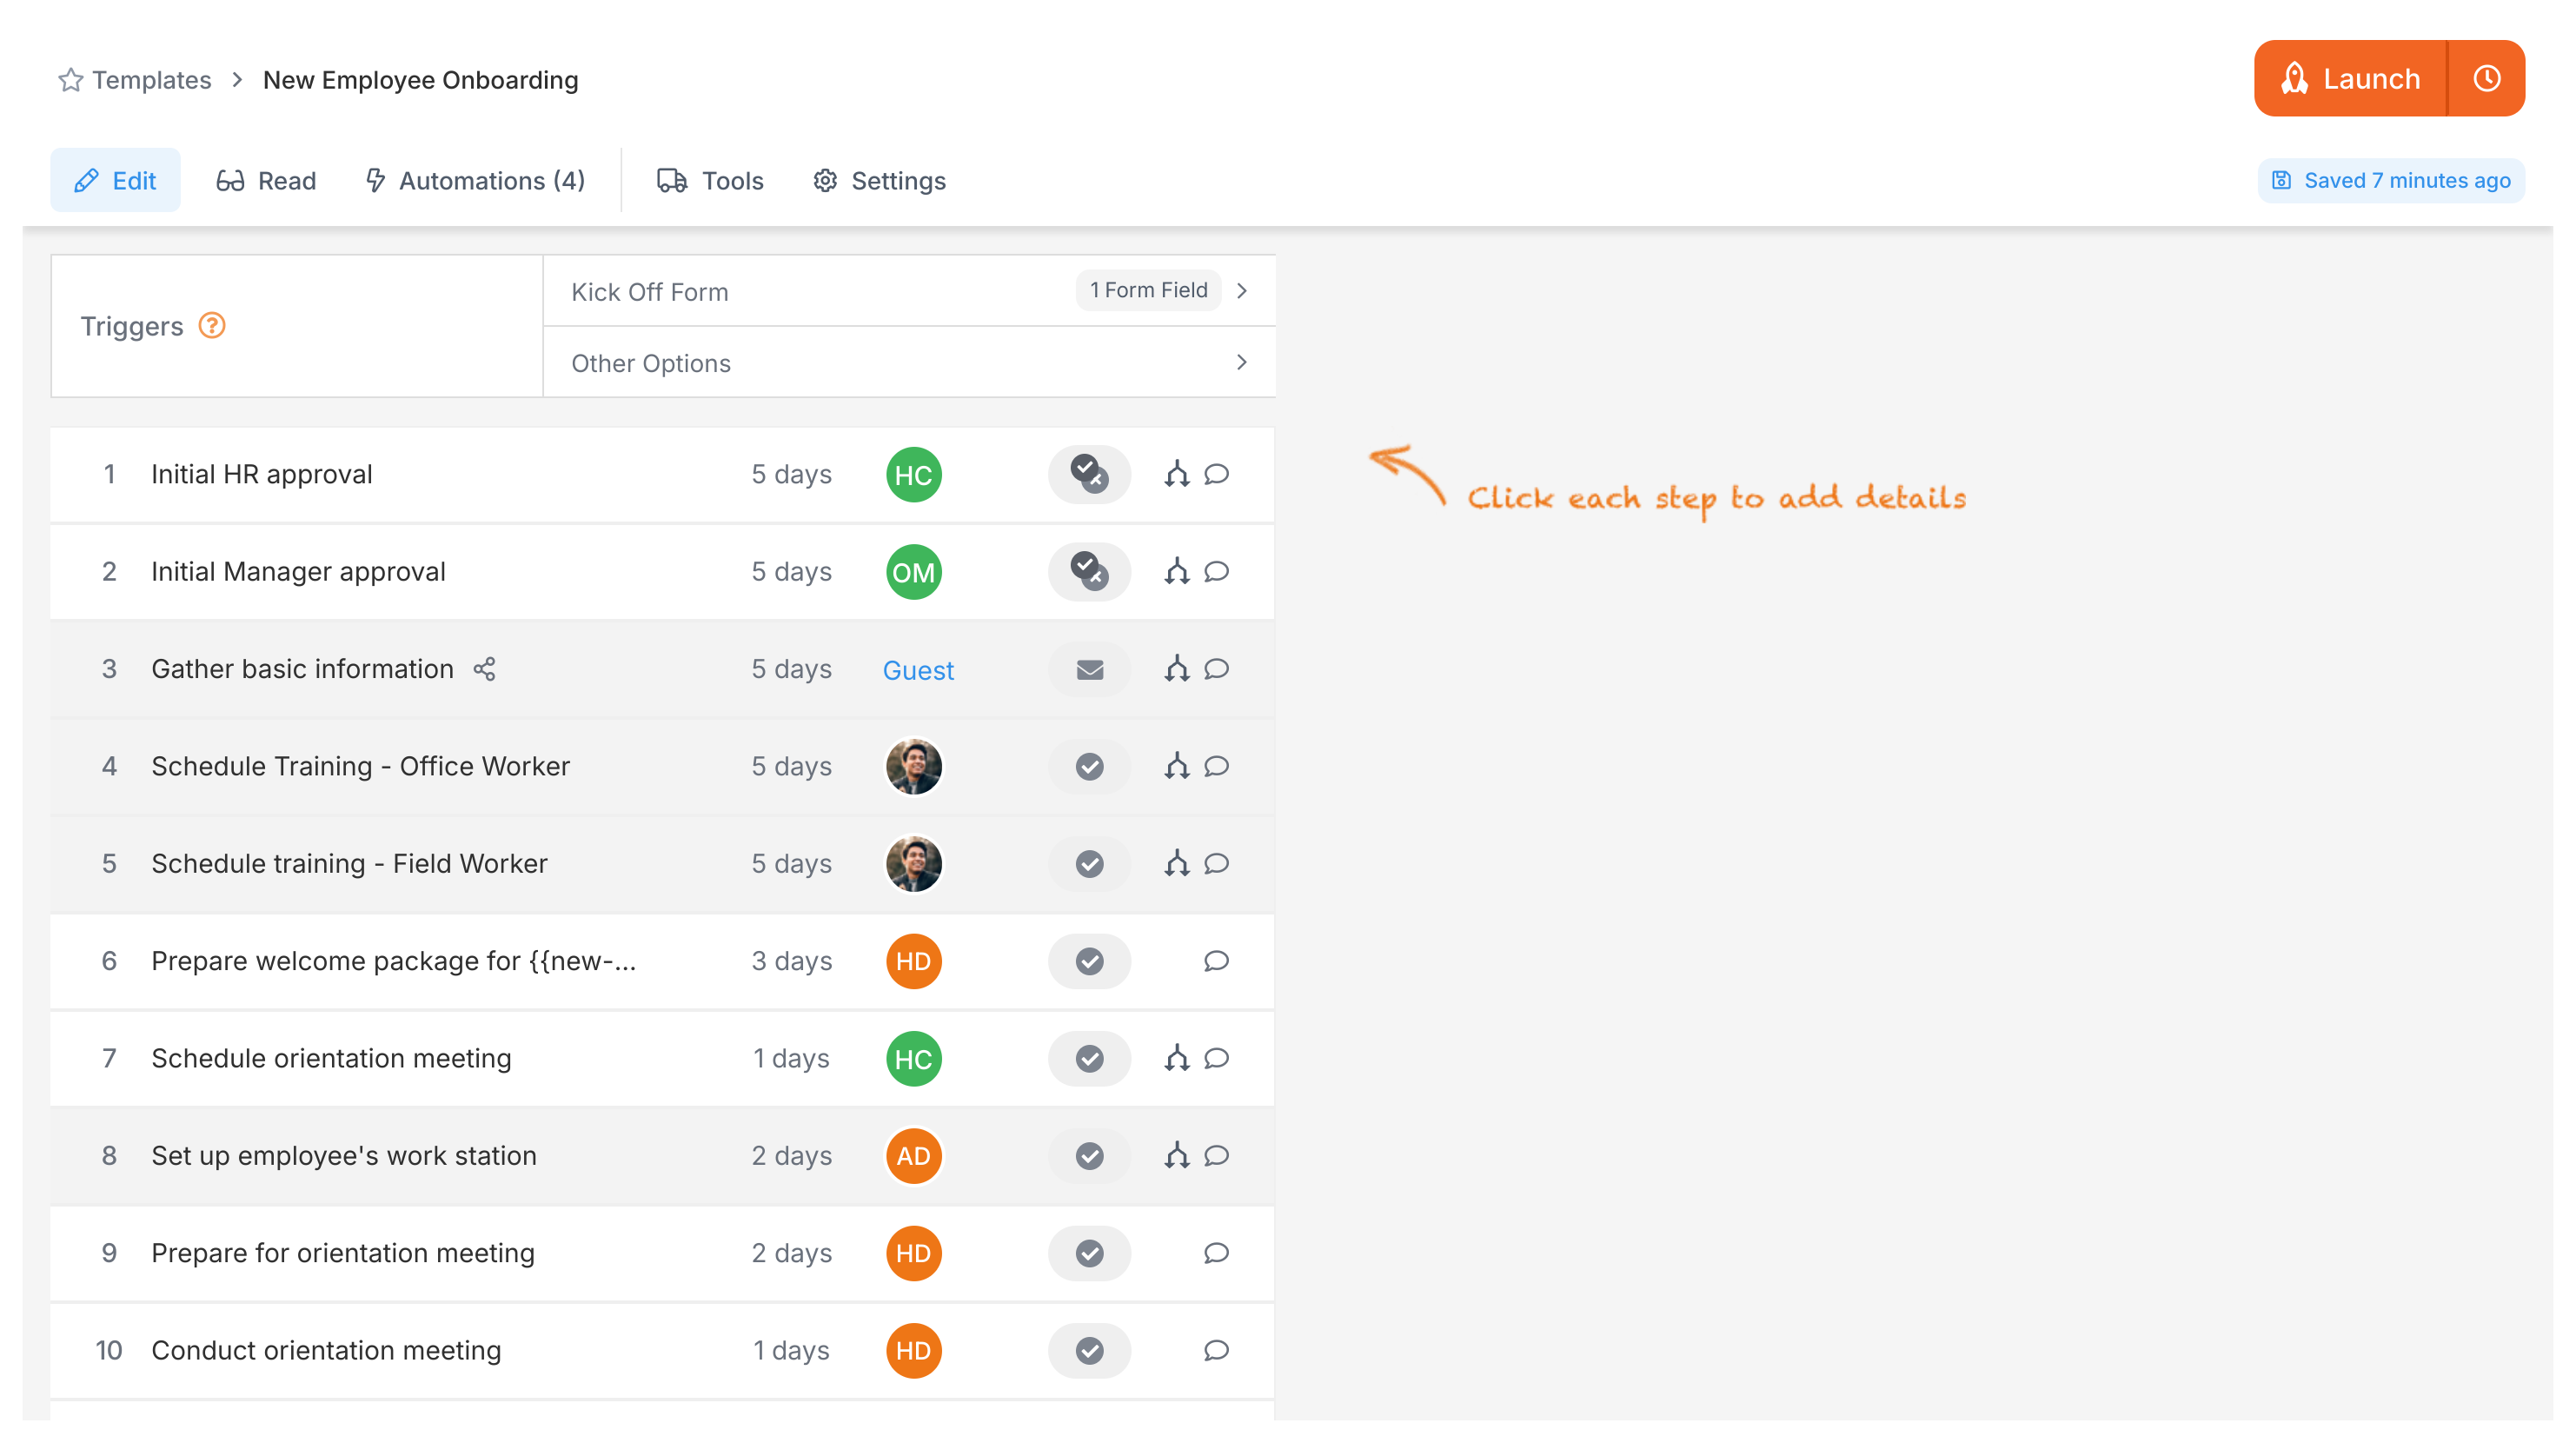
- Create the template: Build your “Employee Onboarding” template. Step 1 collects basic info. Step 2 is “Field Training” and Step 3 is “Office Orientation”.
- Add the form field: In Step 1, add a form field for the employee’s role. Use the Radio Button type with two options: “Field worker” and “Office worker”.
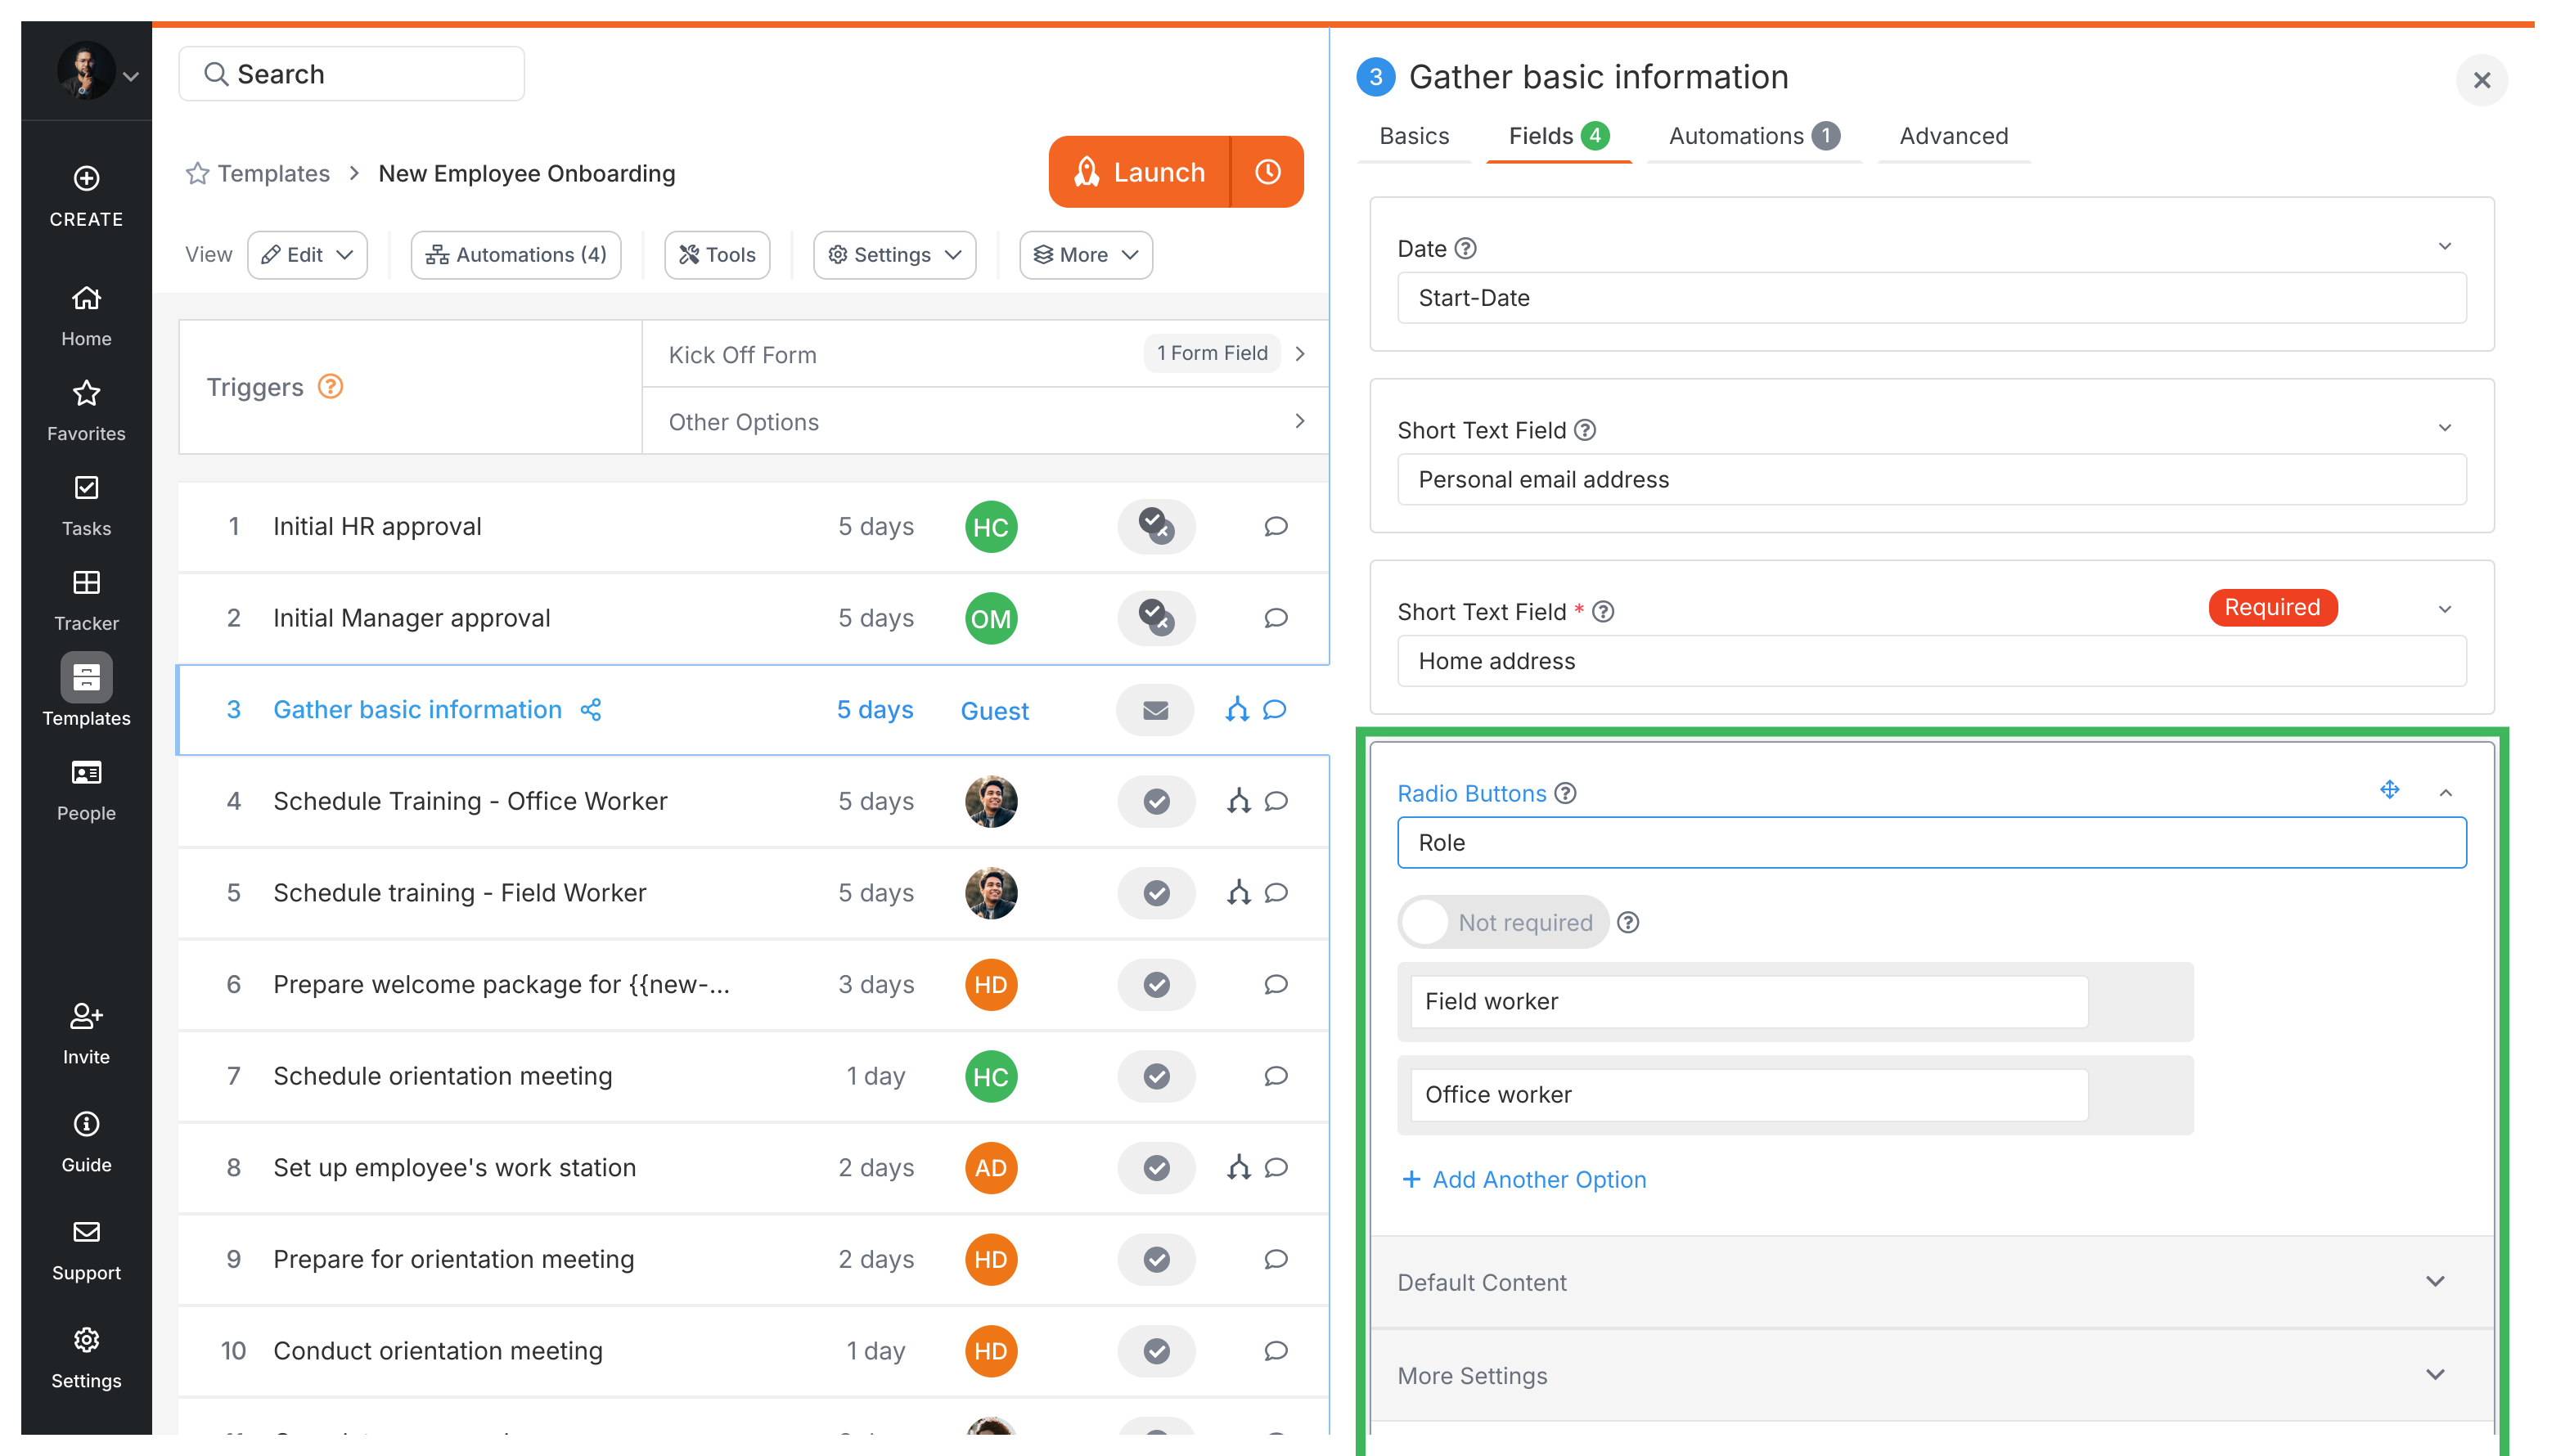
- Hide steps initially: In the template editor, set both Step 2 (“Field Training”) and Step 3 (“Office Orientation”) to hidden by default.
- Create automation rule 1 (for Field Worker):
- Go to the Automations section in the template editor.
- Create a new rule.
- IF condition: The “Role” form field (from Step 1) Is “Field worker”.
- THEN action: Visibility > SHOW Step 2 (“Field Training”).
- Name it descriptively, e.g., “Show Field Training if Role is Field Worker”.
- Create automation rule 2 (for Office Worker):
- Create another new rule.
- IF condition: The “Role” form field (from Step 1) Is “Office worker”.
- THEN action: Visibility > SHOW Step 3 (“Office Orientation”).
- Name it descriptively, e.g., “Show Office Orientation if Role is Office Worker”.
- Launch the process: When you launch this process, you’ll only see Step 1 at first. After the user picks a role and completes Step 1, the matching rule fires and reveals the right follow-up step.
Here’s what happens at runtime:
- Only Step 1 appears at first.
- Once the employee picks their role in Step 1, the relevant step (2 or 3) becomes visible and assigned. Assignees get automatic notifications.
- Assignees click the task link in their email to complete their step.
Use Cases > Set up automation rules in plain language
Describe automation rules in plain language to your connected AI instead of using the automation…
Automations > Conditional visibility
Tallyfy lets you show or hide entire workflow tasks based on form field values using IF-THEN…
Automations > Logic operations explained
Tallyfy automations use IF-THEN rules instead of flowcharts. They watch user inputs and adjust…
Was this helpful?
About Tallyfy
- 2025 Tallyfy, Inc.
- Privacy Policy
- Terms of Use
- Report Issue
- Trademarks