Tallyfy connects with email through custom SMTP for branded notifications, a Gmail add-on for…
Set up custom SMTP sending
Custom SMTP lets every workflow email come from your domain instead of Tallyfy’s. Your SPF, DKIM, and DMARC records stay intact, deliverability improves, and recipients see your brand - not ours.
Other benefits:
- Server-level tracking - access your own logs for all outbound Tallyfy emails
- Security compliance - email traffic stays within your existing infrastructure
- Consistent reputation - your domain’s sender score applies to workflow notifications
| Parameter | Example |
|---|---|
| SMTP Server Host | smtp.company.com |
| Port | 587 |
| Username (email format) | tallyfy@company.com |
| Password | Your SMTP password |
| From Email (optional) | workflows@company.com |
| From Name (optional) | Company Workflows |
Tallyfy uses TLS encryption automatically - there’s no encryption dropdown to configure.
-
Sign in with an administrator account.
-
Go to Settings > Email Settings in the organization settings sidebar.
-
Toggle on Send all emails via your SMTP server.
-
Enter your Host and Port.
-
Enter your Username (must be a valid email address) and Password.
-
Optionally fill in From Name and From Email Address.

-
Click TEST & CONNECT. Tallyfy verifies your connection and saves the configuration in one step.
If the connection test fails, you’ll see an error message with details. Fix the issue and try again - nothing gets saved until the test passes.
Before going live, you can verify your SMTP server independently using these third-party tools:
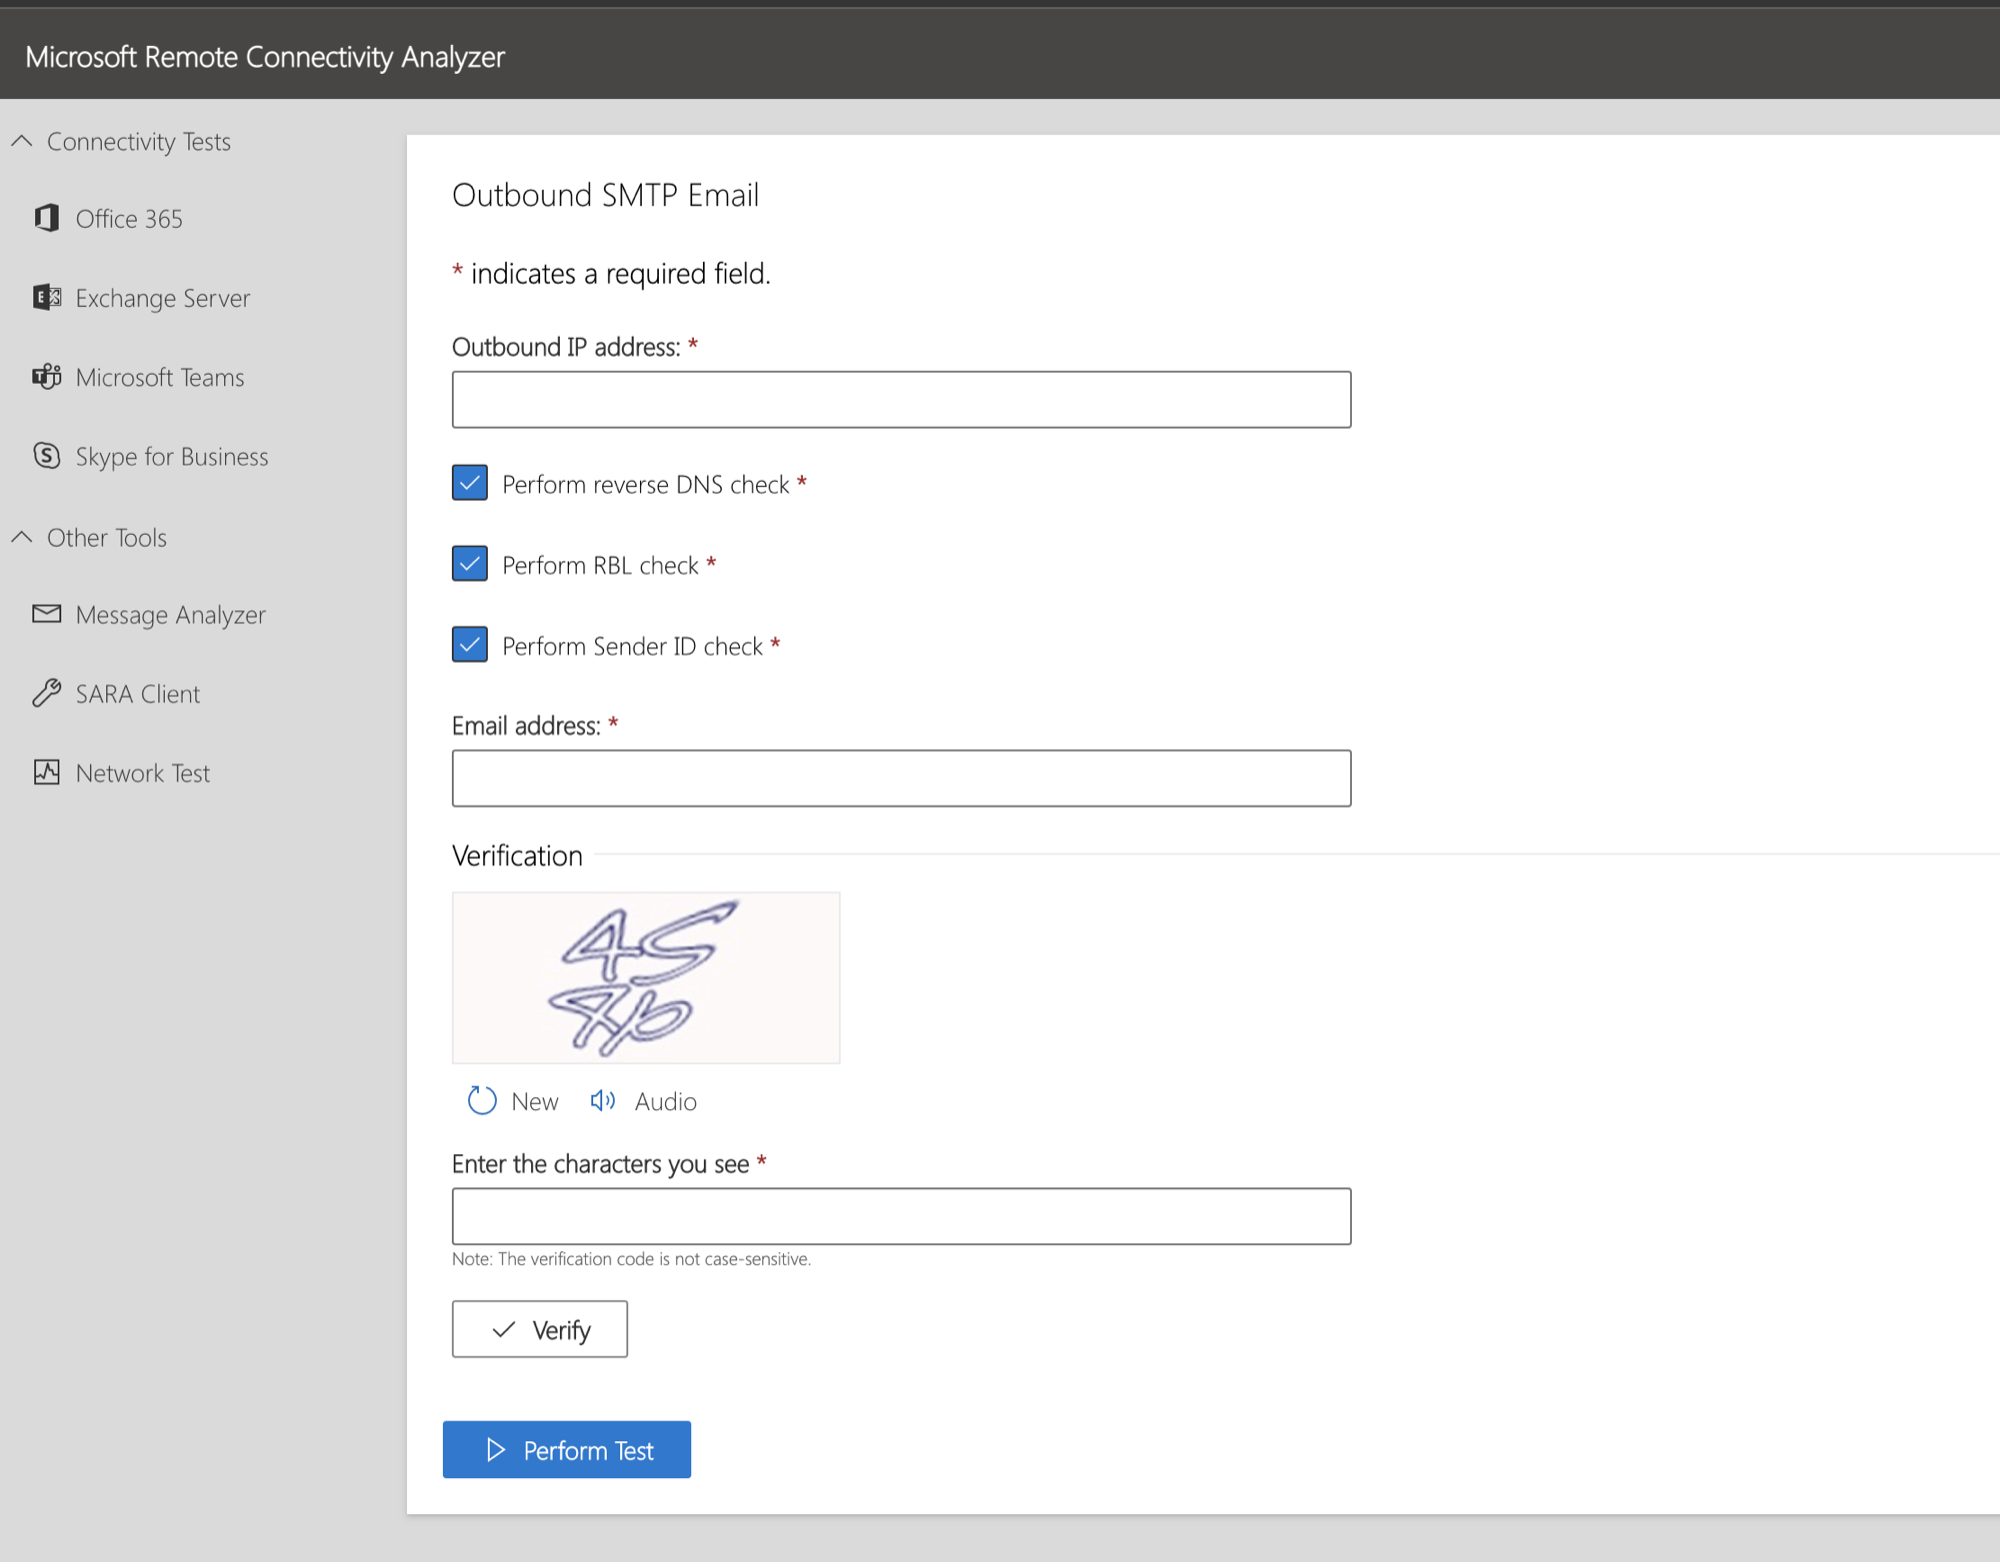
- Microsoft Remote Connectivity Analyzer ↗ - thorough SMTP connectivity check
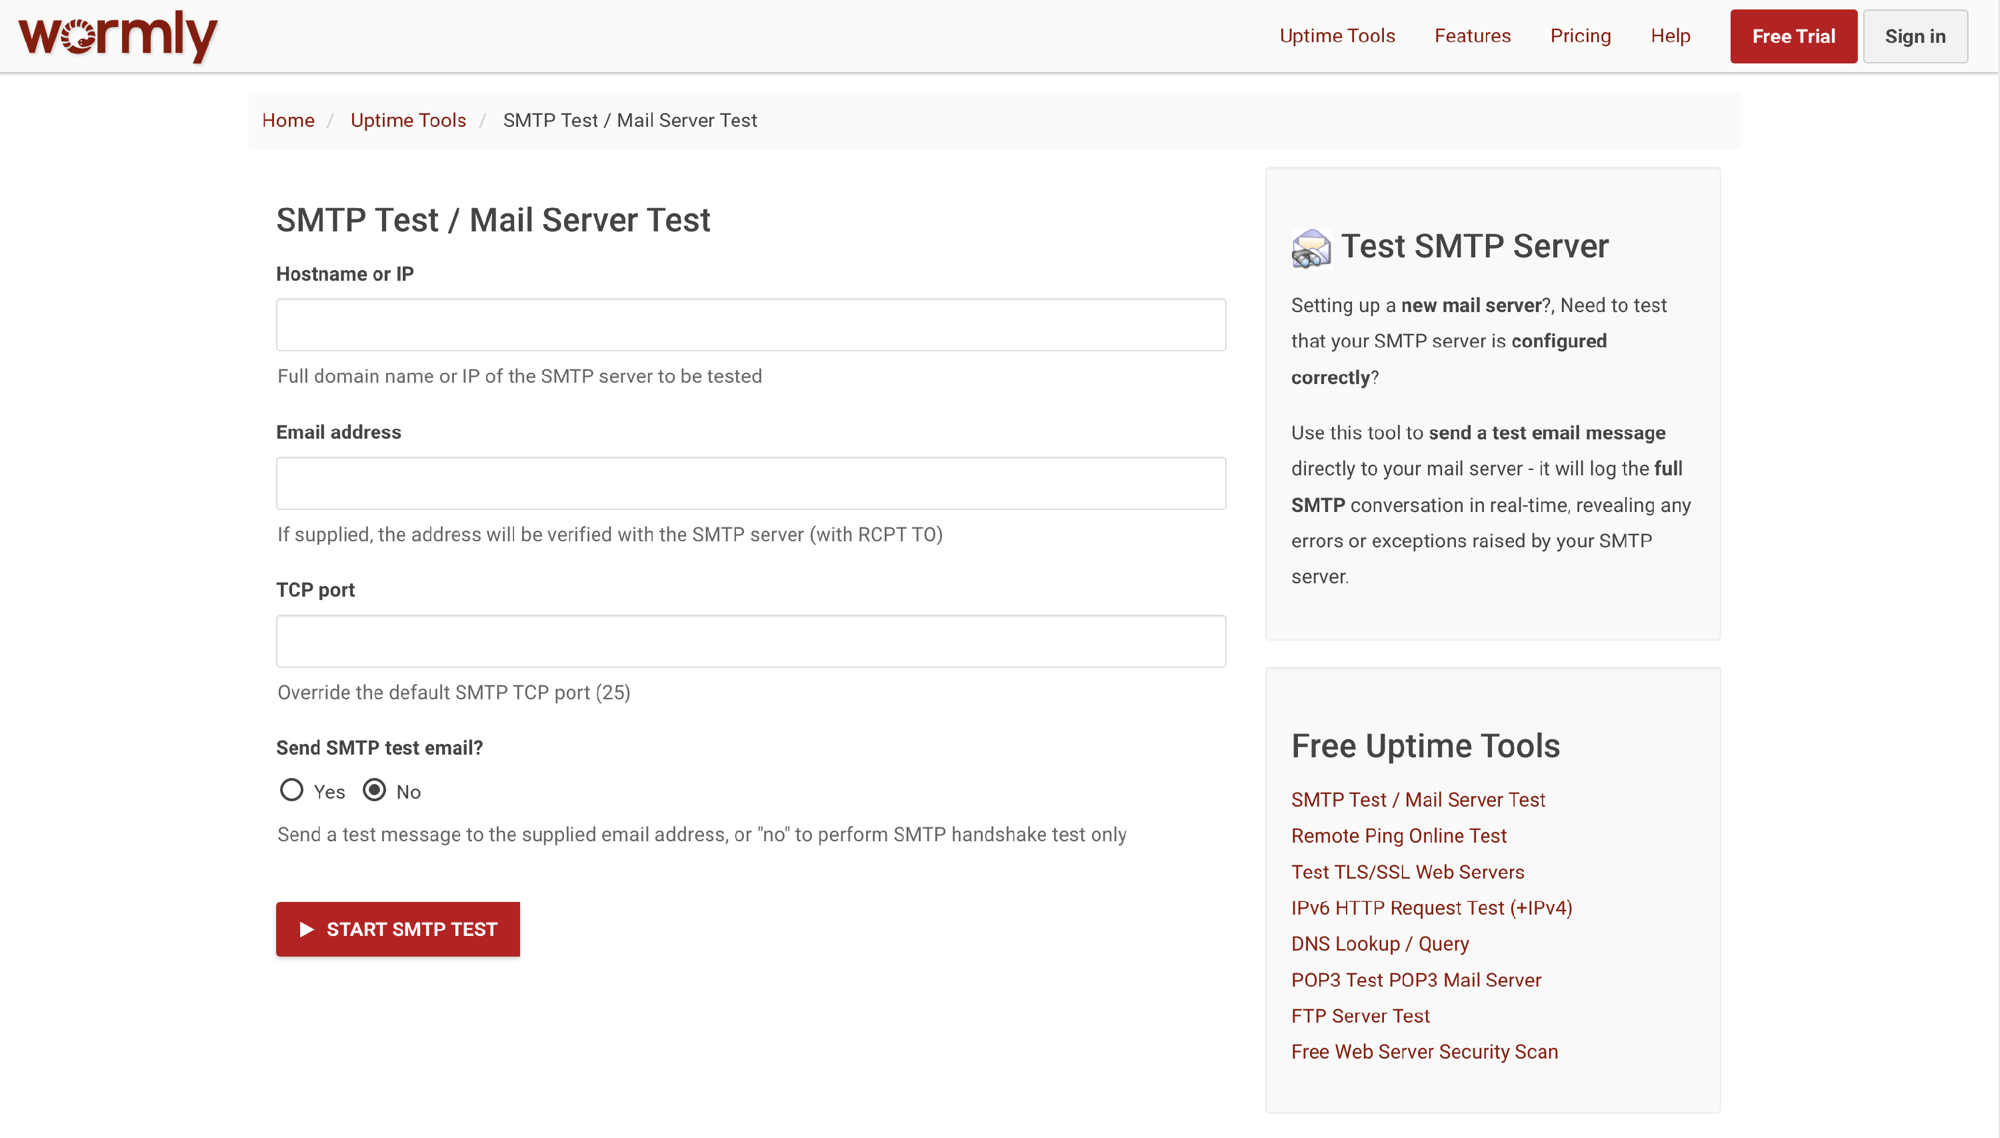
- Wormly SMTP Tester ↗ - quick server responsiveness check
- MXToolbox SuperTool ↗ - DNS records, blacklist status, and infrastructure health

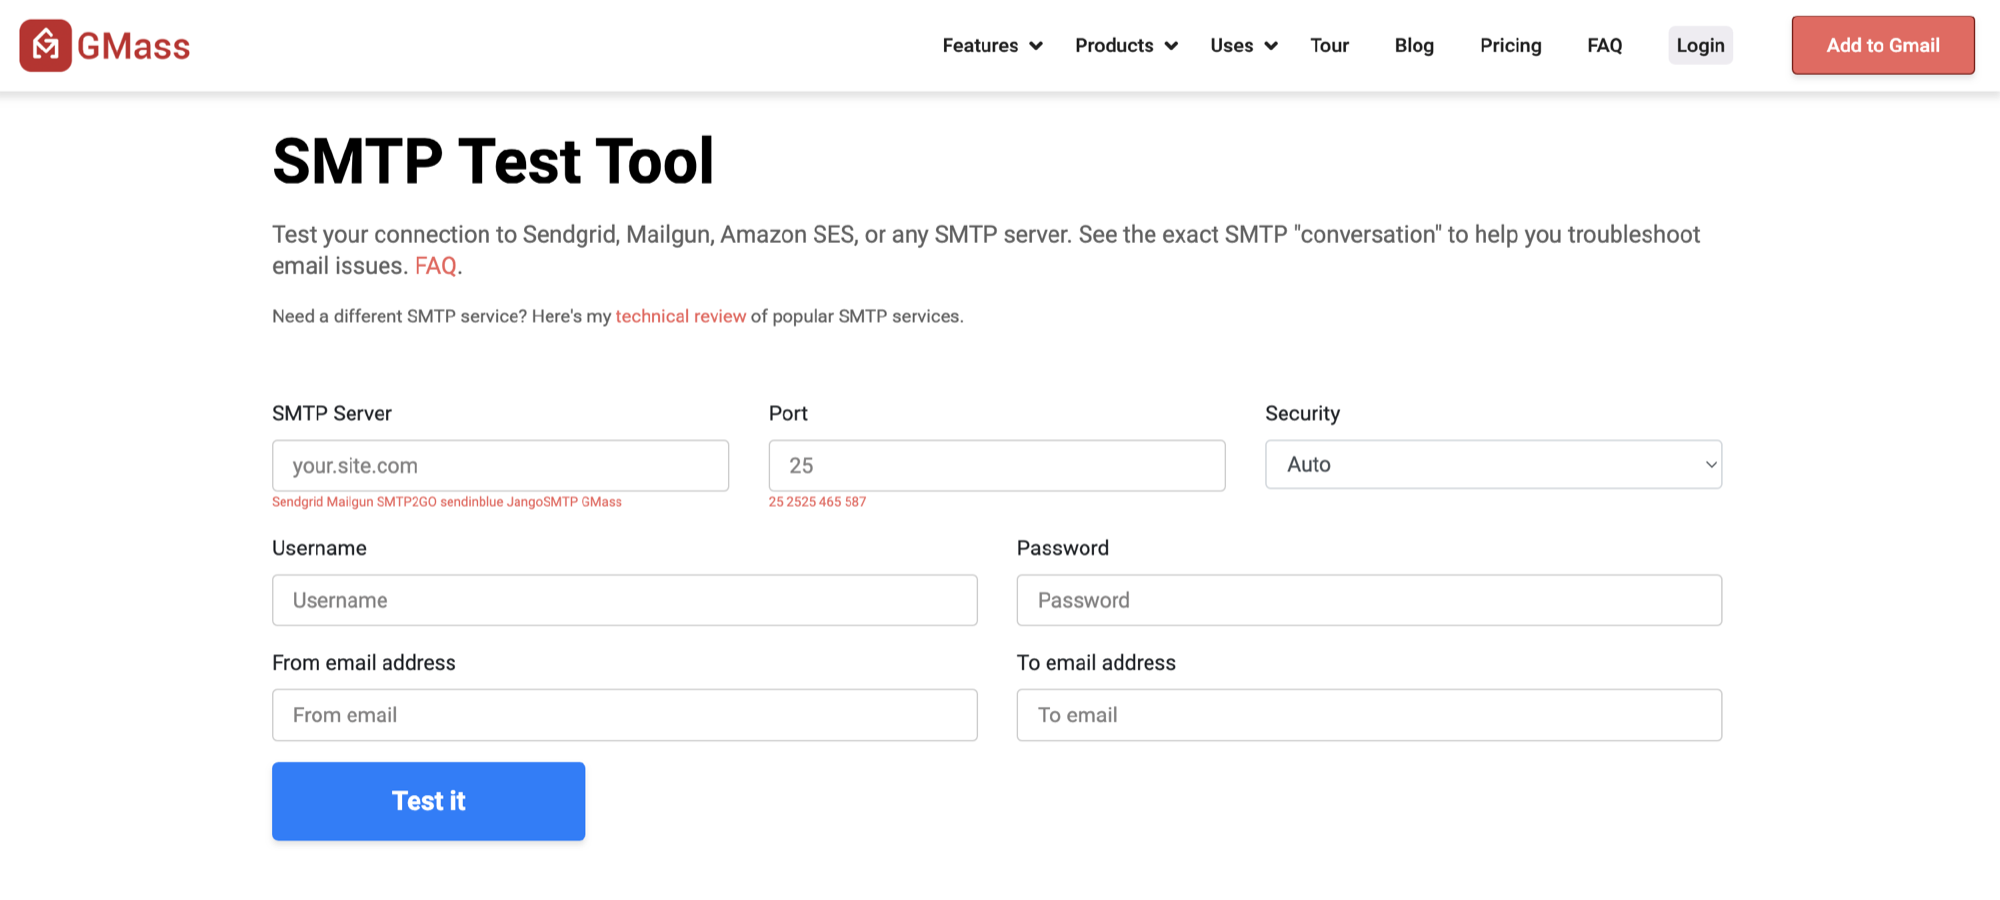
- GMass SMTP Tester ↗ - credential and authentication testing
- Open any template and launch a test process with yourself assigned.
- Check your inbox for the task notification email.
- Confirm the “From” address matches your configured sender.
- Inspect email headers to verify the message routed through your SMTP server.
| Issue | Likely cause | Fix |
|---|---|---|
| Connection timeout | Firewall blocking port 587 | Open outbound SMTP port |
| Authentication failure | Wrong credentials | Double-check username (must be email format) and password |
| TLS errors | Server doesn’t support TLS | Confirm your server supports TLS on the specified port |
| Rate limiting | Too many connections | Raise server limits or reduce email volume |
| DNS resolution failure | Bad hostname | Verify the SMTP host address resolves correctly |
| Rejected messages | Sender mismatch | Ensure “From” address matches an authorized domain |
Network: Your firewall must allow outbound connections from Tallyfy’s servers to your SMTP host on port 587. Test with telnet or openssl.
Authentication: Some mail servers require app-specific passwords when MFA is enabled. Check whether your server accepts the authentication method Tallyfy uses.
DNS and email security: Your SPF record must include your SMTP server’s IP. If you use DKIM and DMARC, make sure they’re configured correctly for the sending domain.
Connect Your Email lets each user send Tallyfy workflow notifications from their personal Gmail…
Tallyfy uses BIMI email authentication with SPF/DKIM/DMARC checks and a Verified Mark…
Support > Not receiving emails?
If Tallyfy emails aren’t arriving, check spam folders, notification settings, and have your IT…
Was this helpful?
About Tallyfy
- 2025 Tallyfy, Inc.
- Privacy Policy
- Terms of Use
- Report Issue
- Trademarks