Authentication > Integrate OneLogin SSO
Set up SAML-based Single Sign-On between OneLogin and Tallyfy. Create a custom SAML connector in…
Connect Google Workspace (formerly G Suite) with Tallyfy using SAML-based Single Sign-On. Your users authenticate with their Google credentials - no separate Tallyfy passwords needed.
Sign in to the Google Workspace Admin console ↗
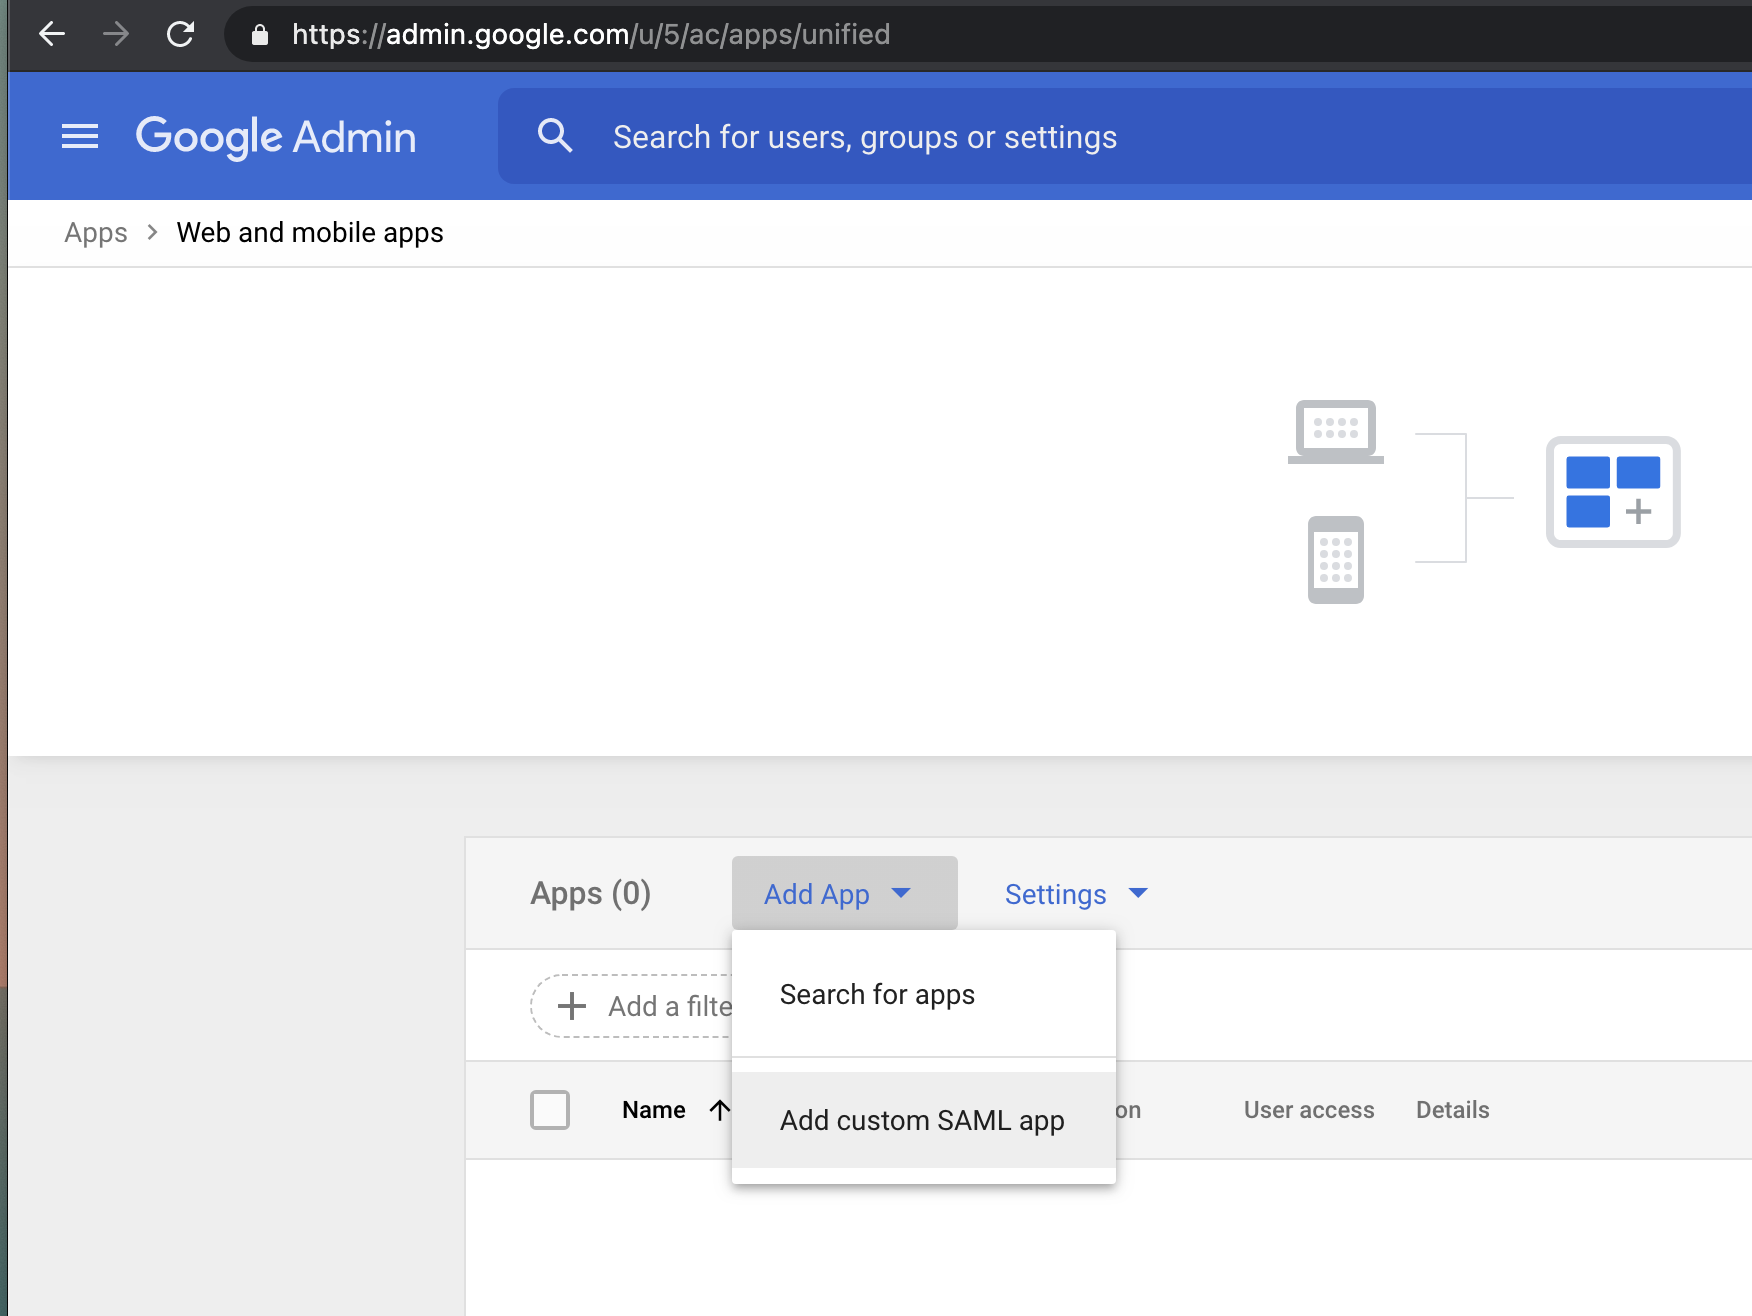
Go to Apps > Web and mobile apps
Click Add App > Add custom SAML app
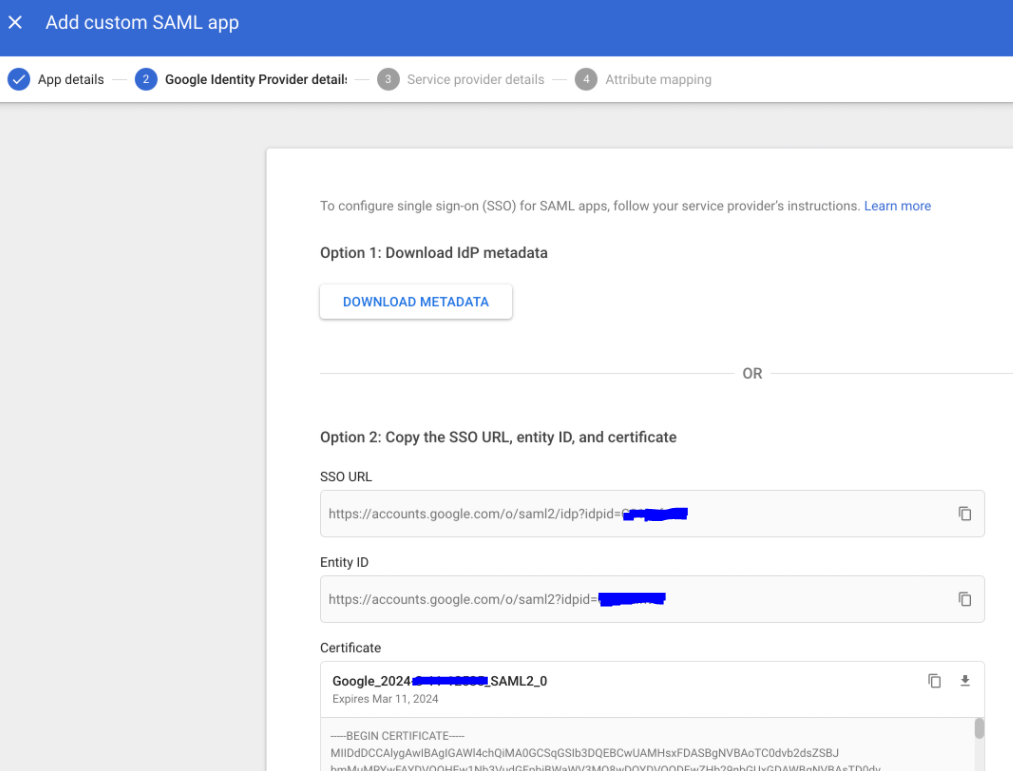
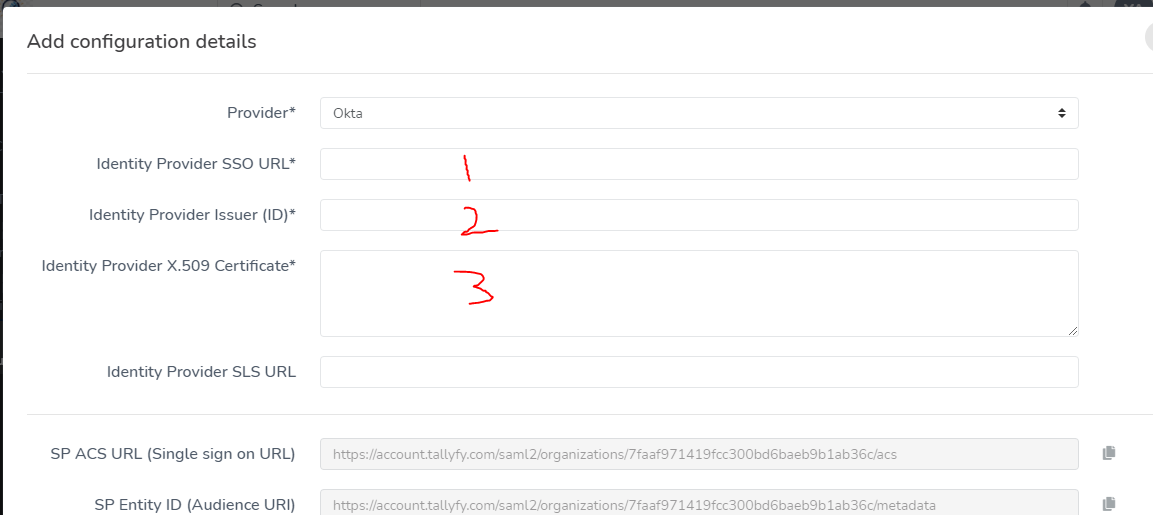
On the Google Identity Provider details page, copy the SSO URL (Single Sign-On URL).
Copy the Entity ID (Issuer).
Download the Certificate file.
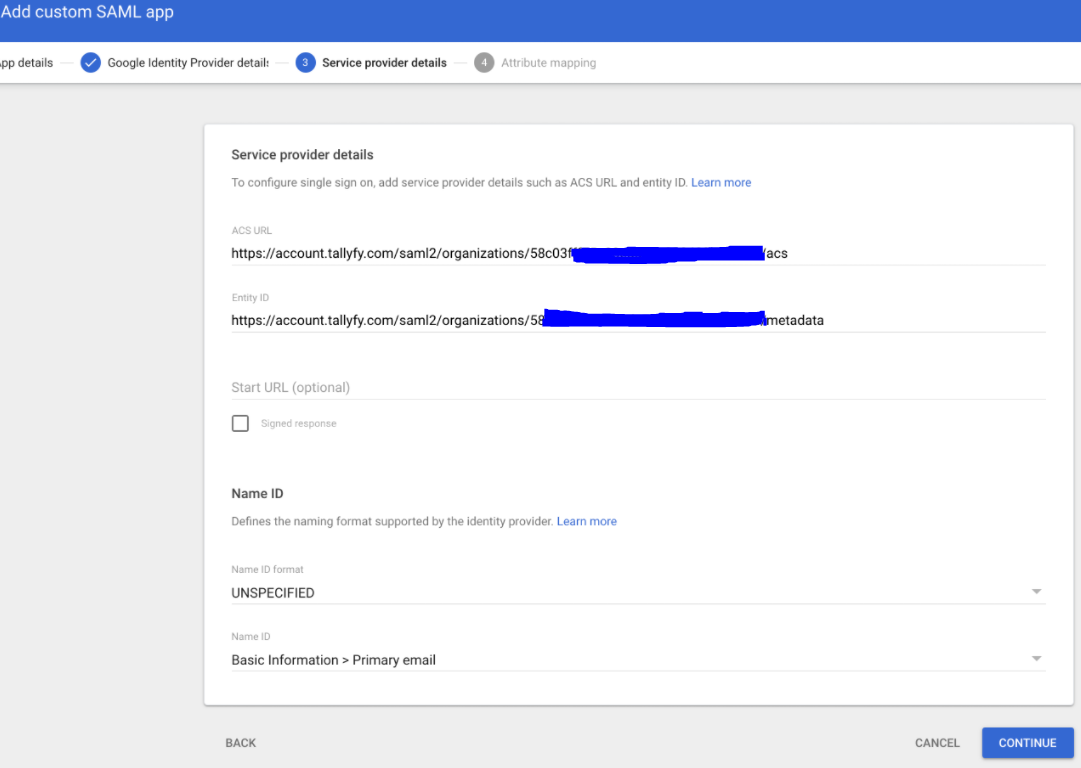
Enter the Tallyfy ACS URL (Assertion Consumer Service URL) provided by Tallyfy Support.
Enter the Tallyfy Entity ID (Service Provider Entity ID) provided by Tallyfy Support.
Leave the Start URL field empty.
Map these user attributes exactly as shown:
| Google Directory Attribute | App Attribute |
|---|---|
| Primary Email | |
| First Name | FirstName |
| Last Name | LastName |
Click Finish. That’s it for the Google side.
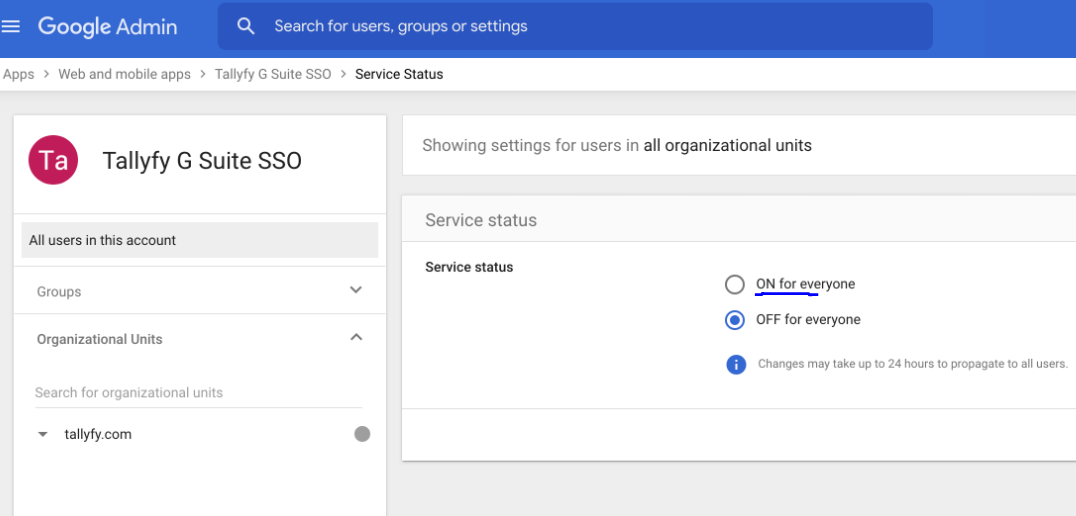
In the application settings, go to User Access
Set Service status to ON for everyone (or pick specific organizational units)
Once Tallyfy Support processes your information, go to your organization settings
Find the SAML configuration section
Enter the configuration details Tallyfy Support provides
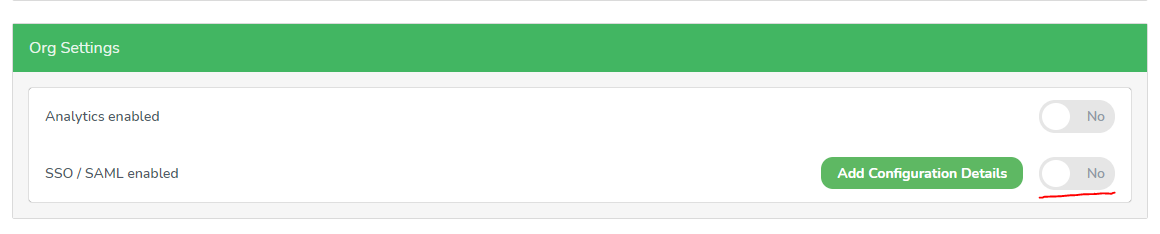
Toggle the SAML activation switch to turn on SSO for your organization
After you finish the integration:
Share the Tallyfy login URL with your users (you’ll find it in the SAML configuration modal).

Confirm you’ve granted access to the SAML app in Google Workspace for users who need it.
Existing Tallyfy users sign in through the shared SSO URL - no separate passwords required.
New users are automatically provisioned in Tallyfy on their first SSO login.
Here’s the full SAML authentication flow after configuration is done.

Key points:
Running into authentication problems? Check these:
Authentication > Integrate OneLogin SSO
Authentication > Integrate Okta SSO
Integrations > Authentication and SSO
Authentication > Integrate JumpCloud SSO