Members > Manage member permissions
Configure your template
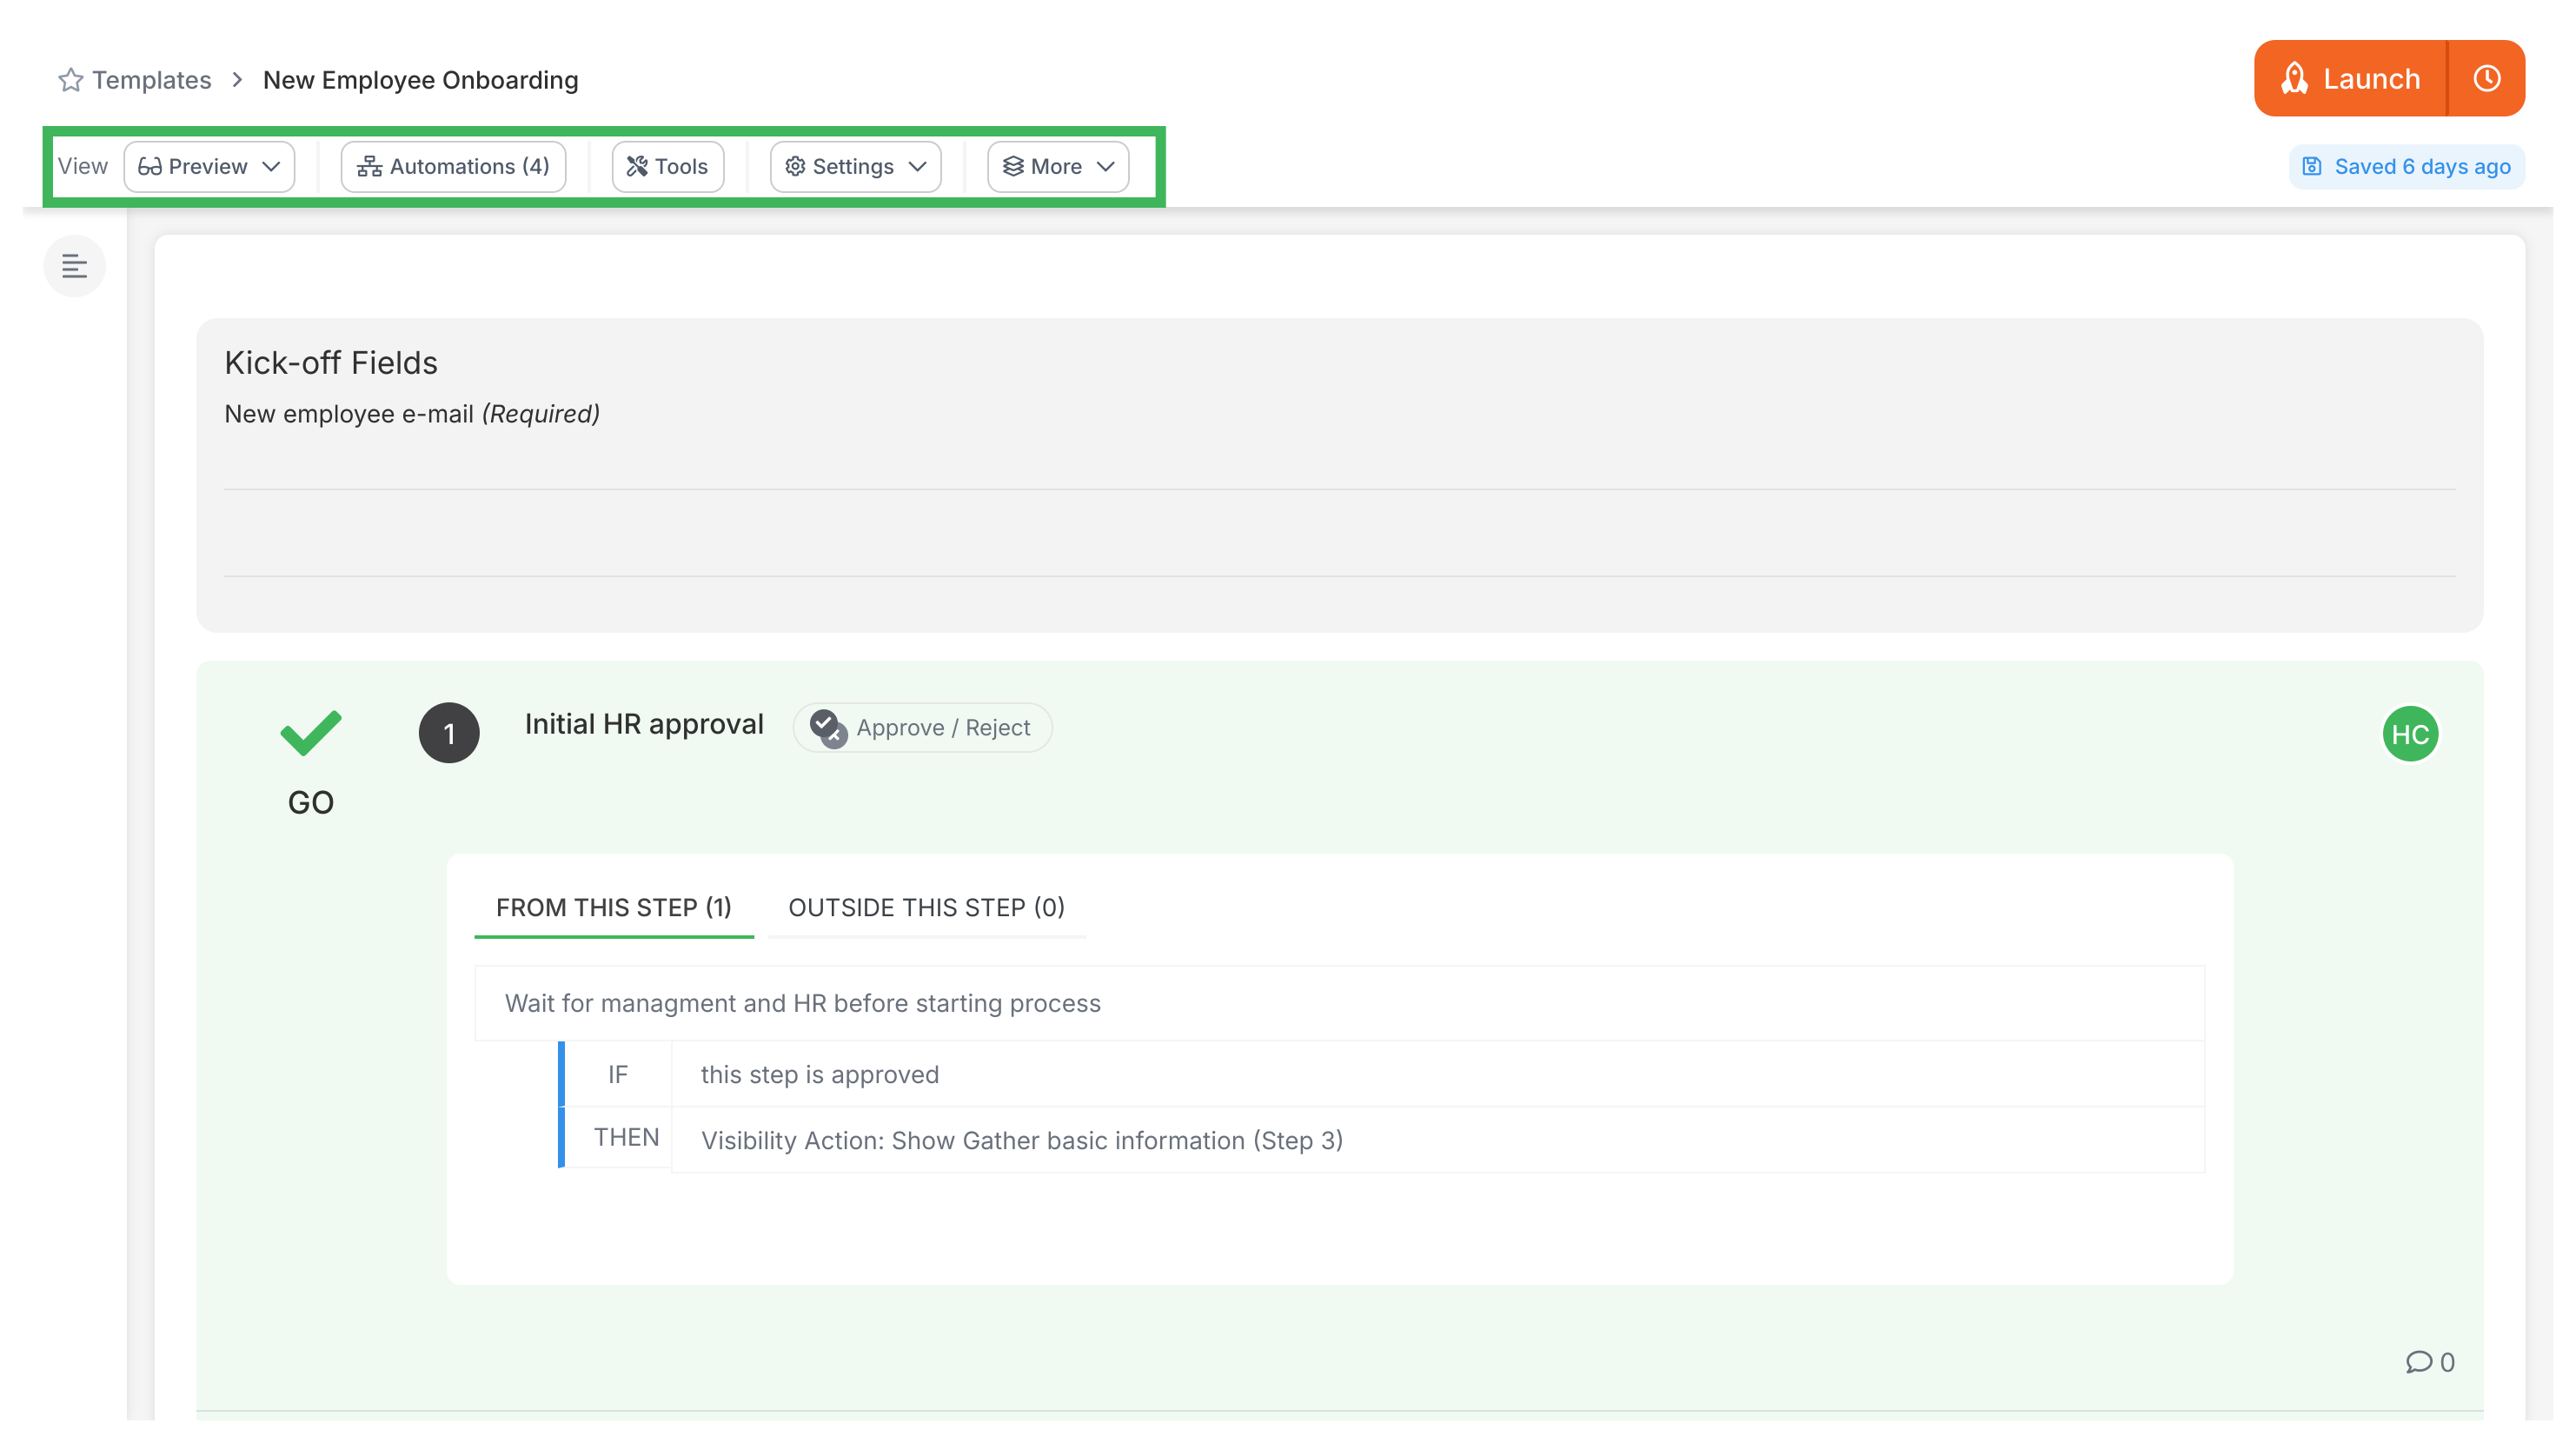
Click the Settings button (sometimes shown as Config) when editing a template in Tallyfy. You’ll find options to customize how your template works, who can use it, and how it’s organized.
The main areas you can configure are general actions (like copying or archiving), summary details (like descriptions and videos), organization (folders and tags), and access rules (permissions).
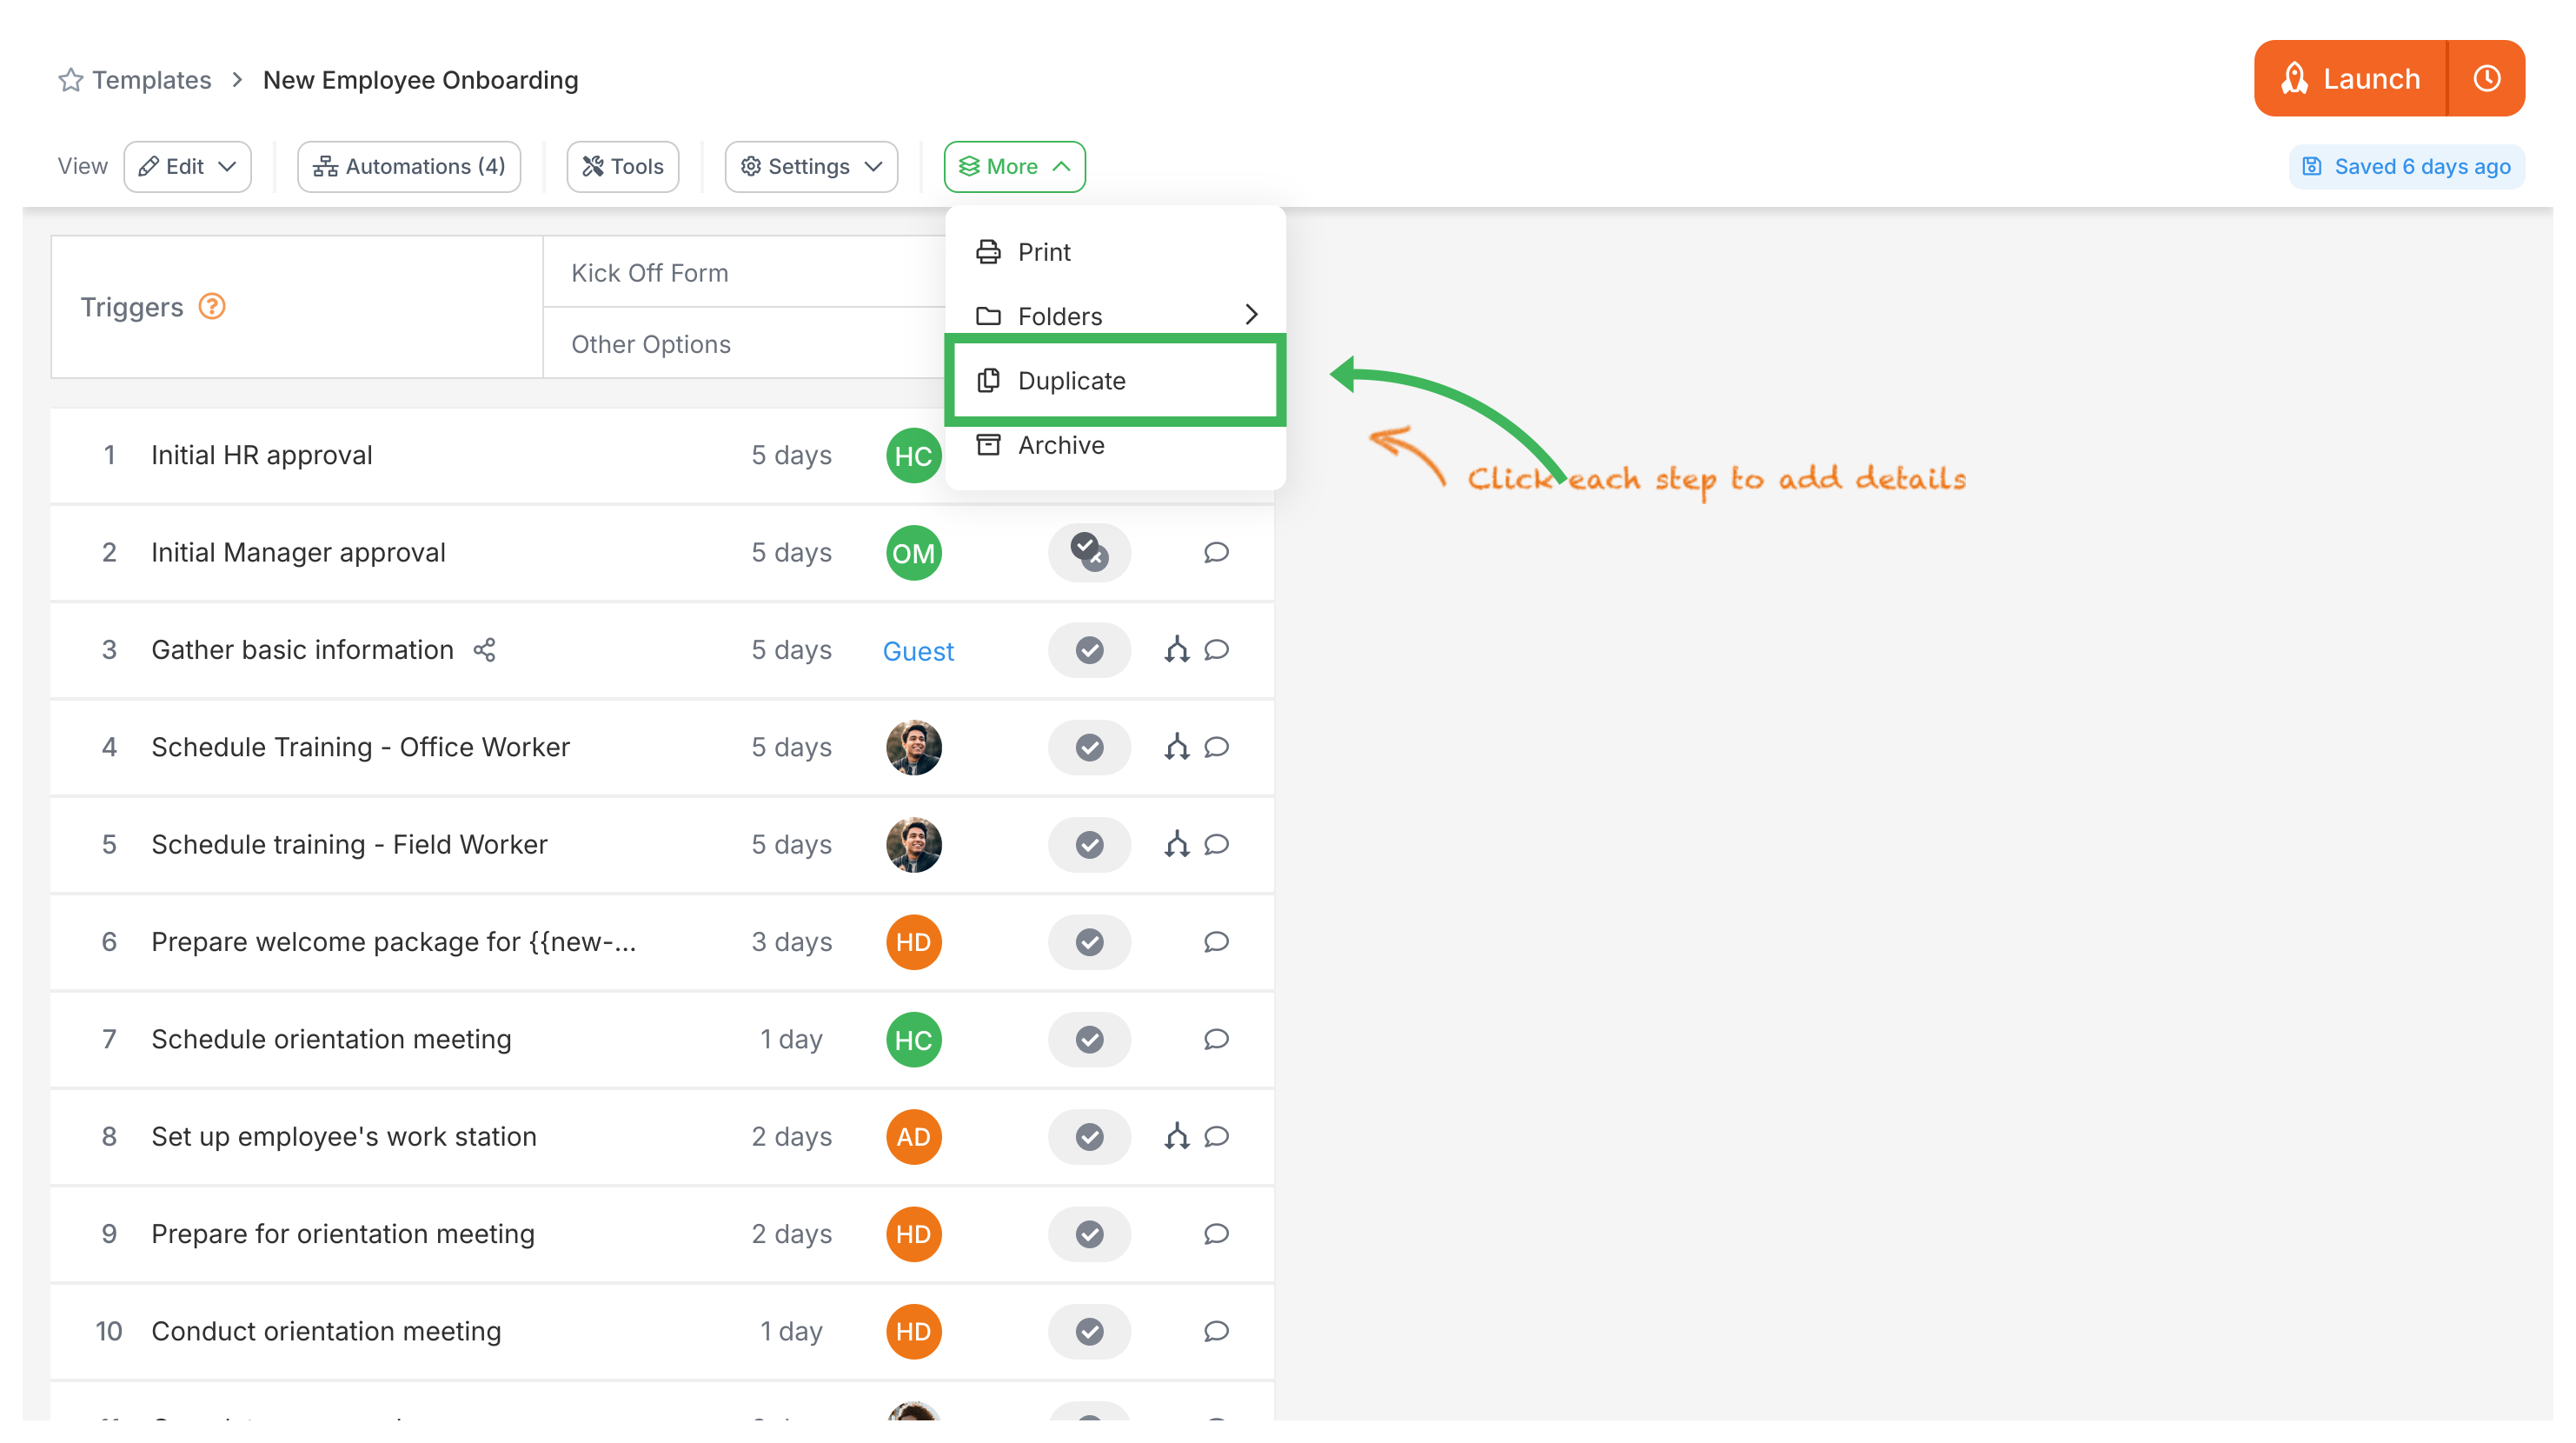
The duplicate button creates an exact copy of your template. Change the copy without affecting the original. Give it a new name, or it’ll default to “COPY OF - [original template name]”.
Archiving moves the template out of your main library. Archived templates aren’t deleted. You can restore them later.
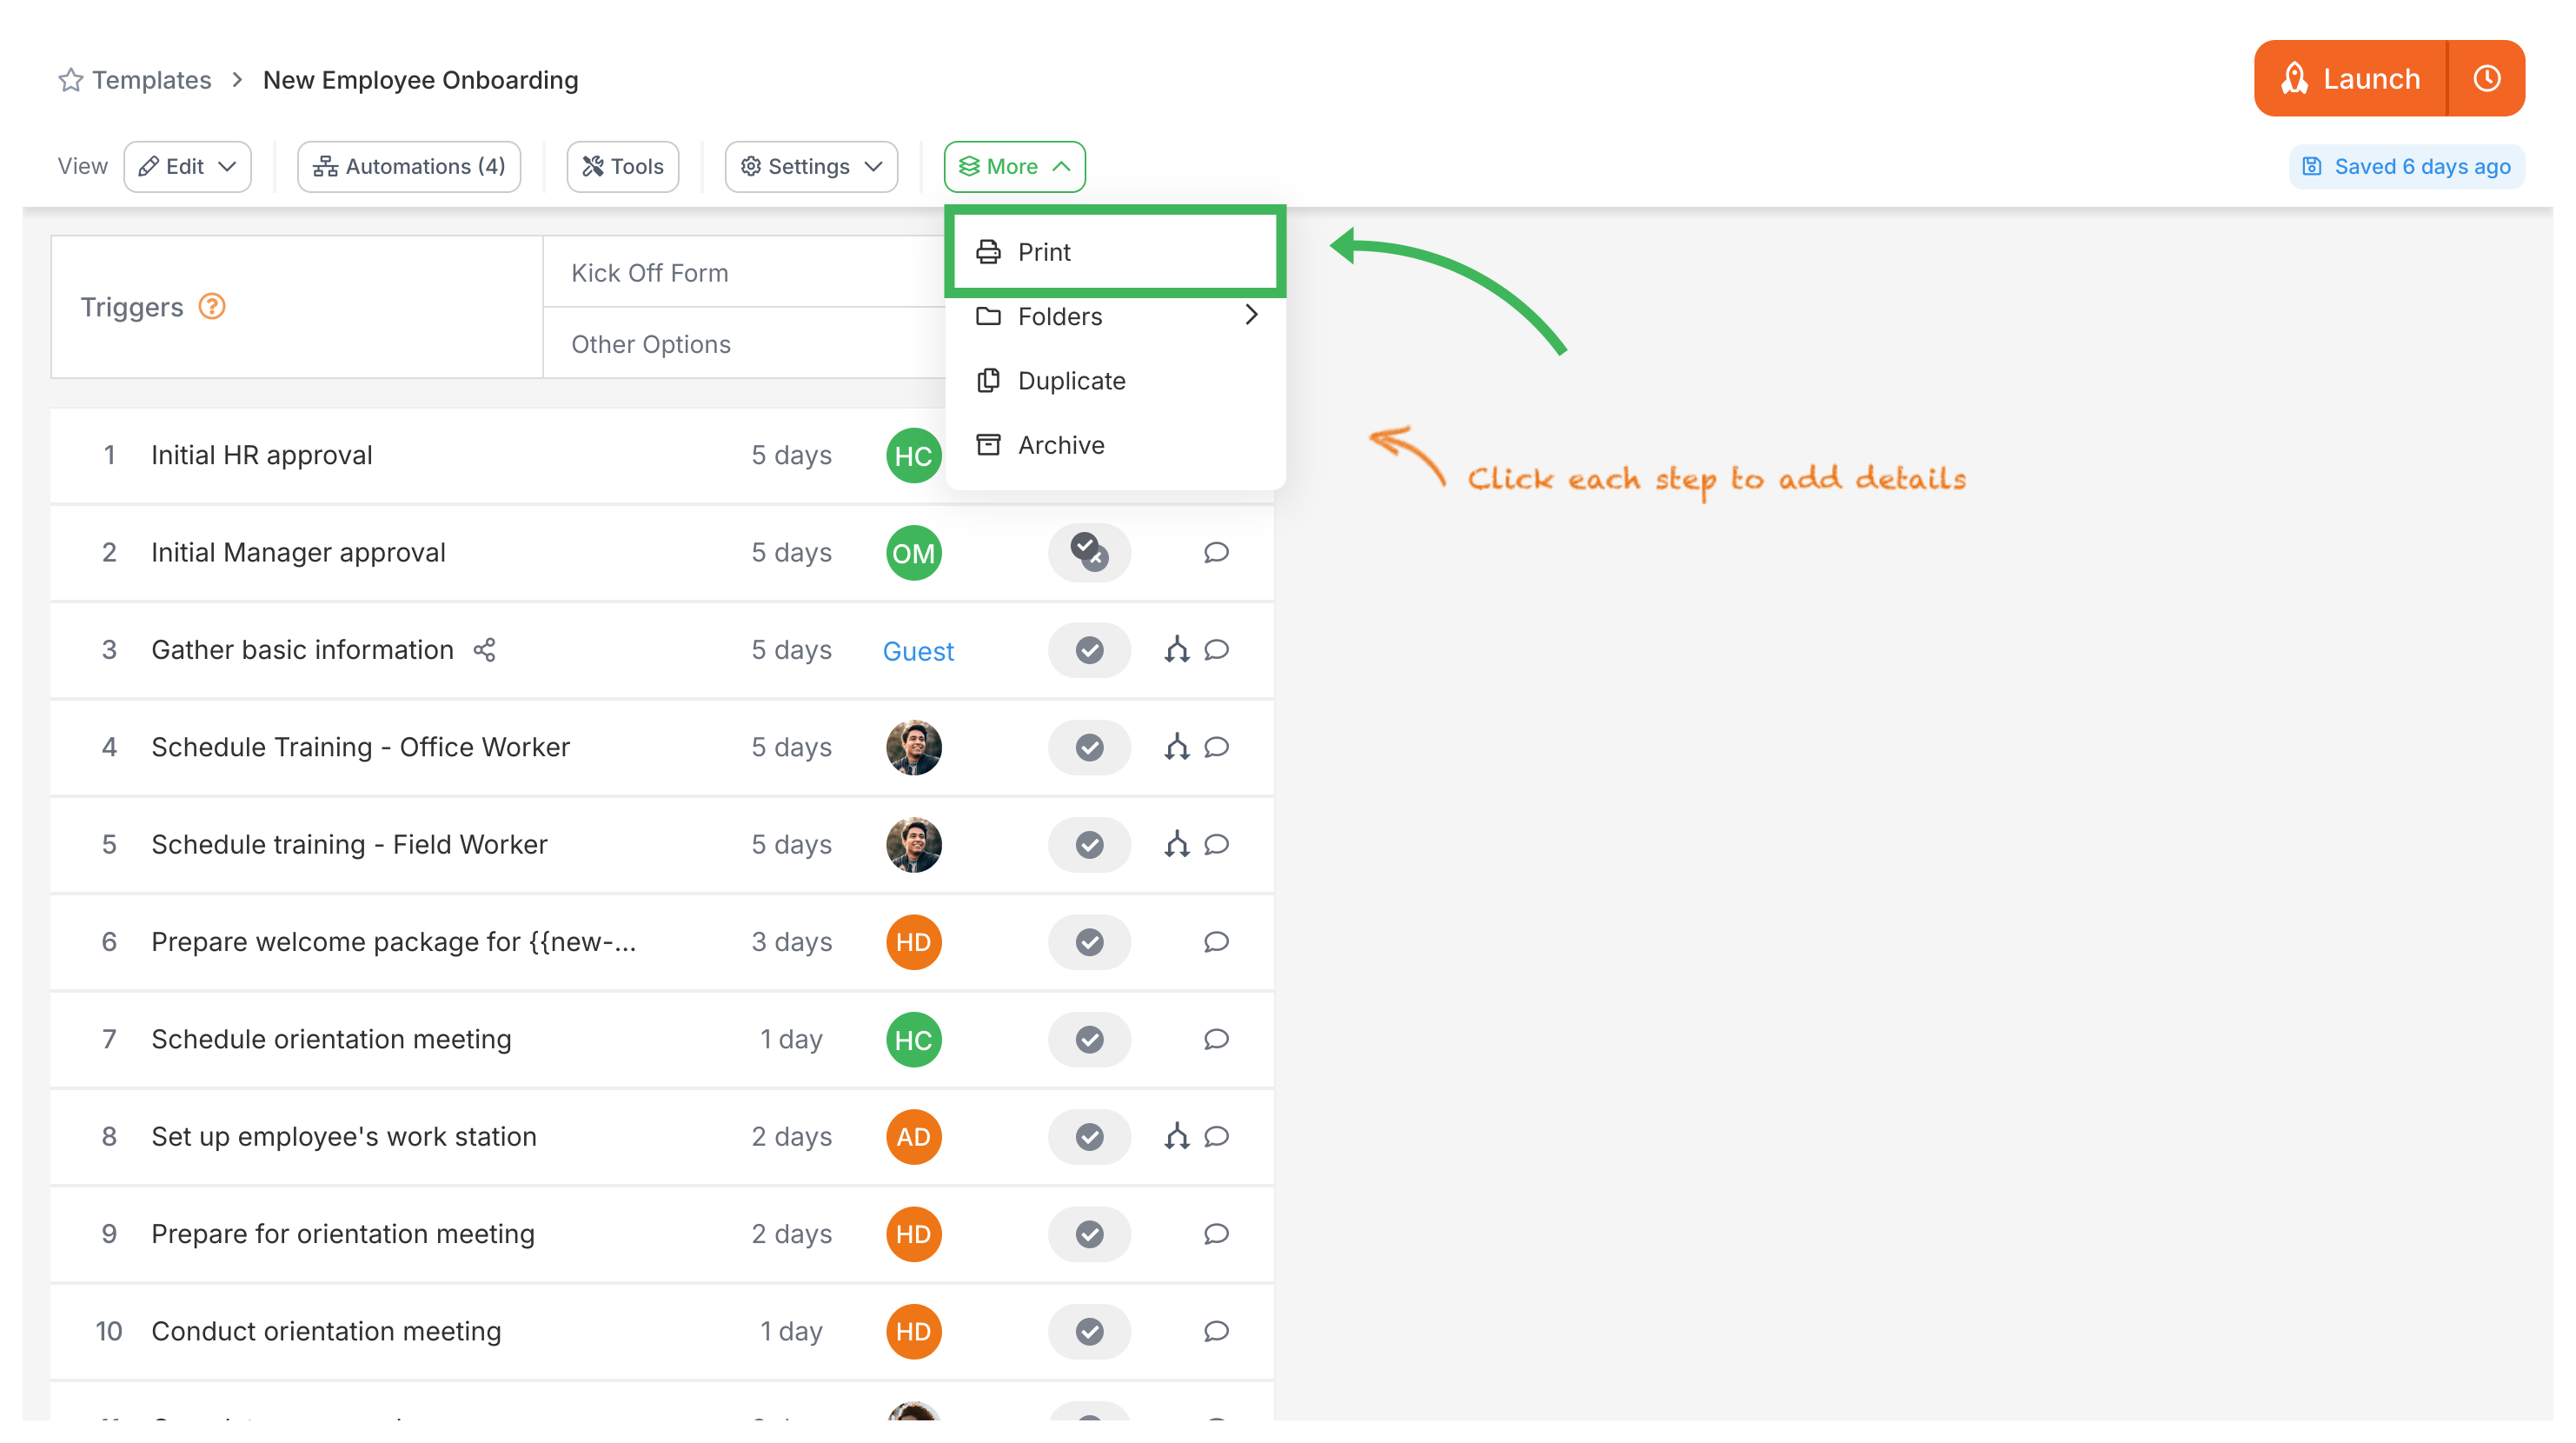
The print function creates a version that’s easy to print or save as a PDF. See Print, Download, and Export Templates.
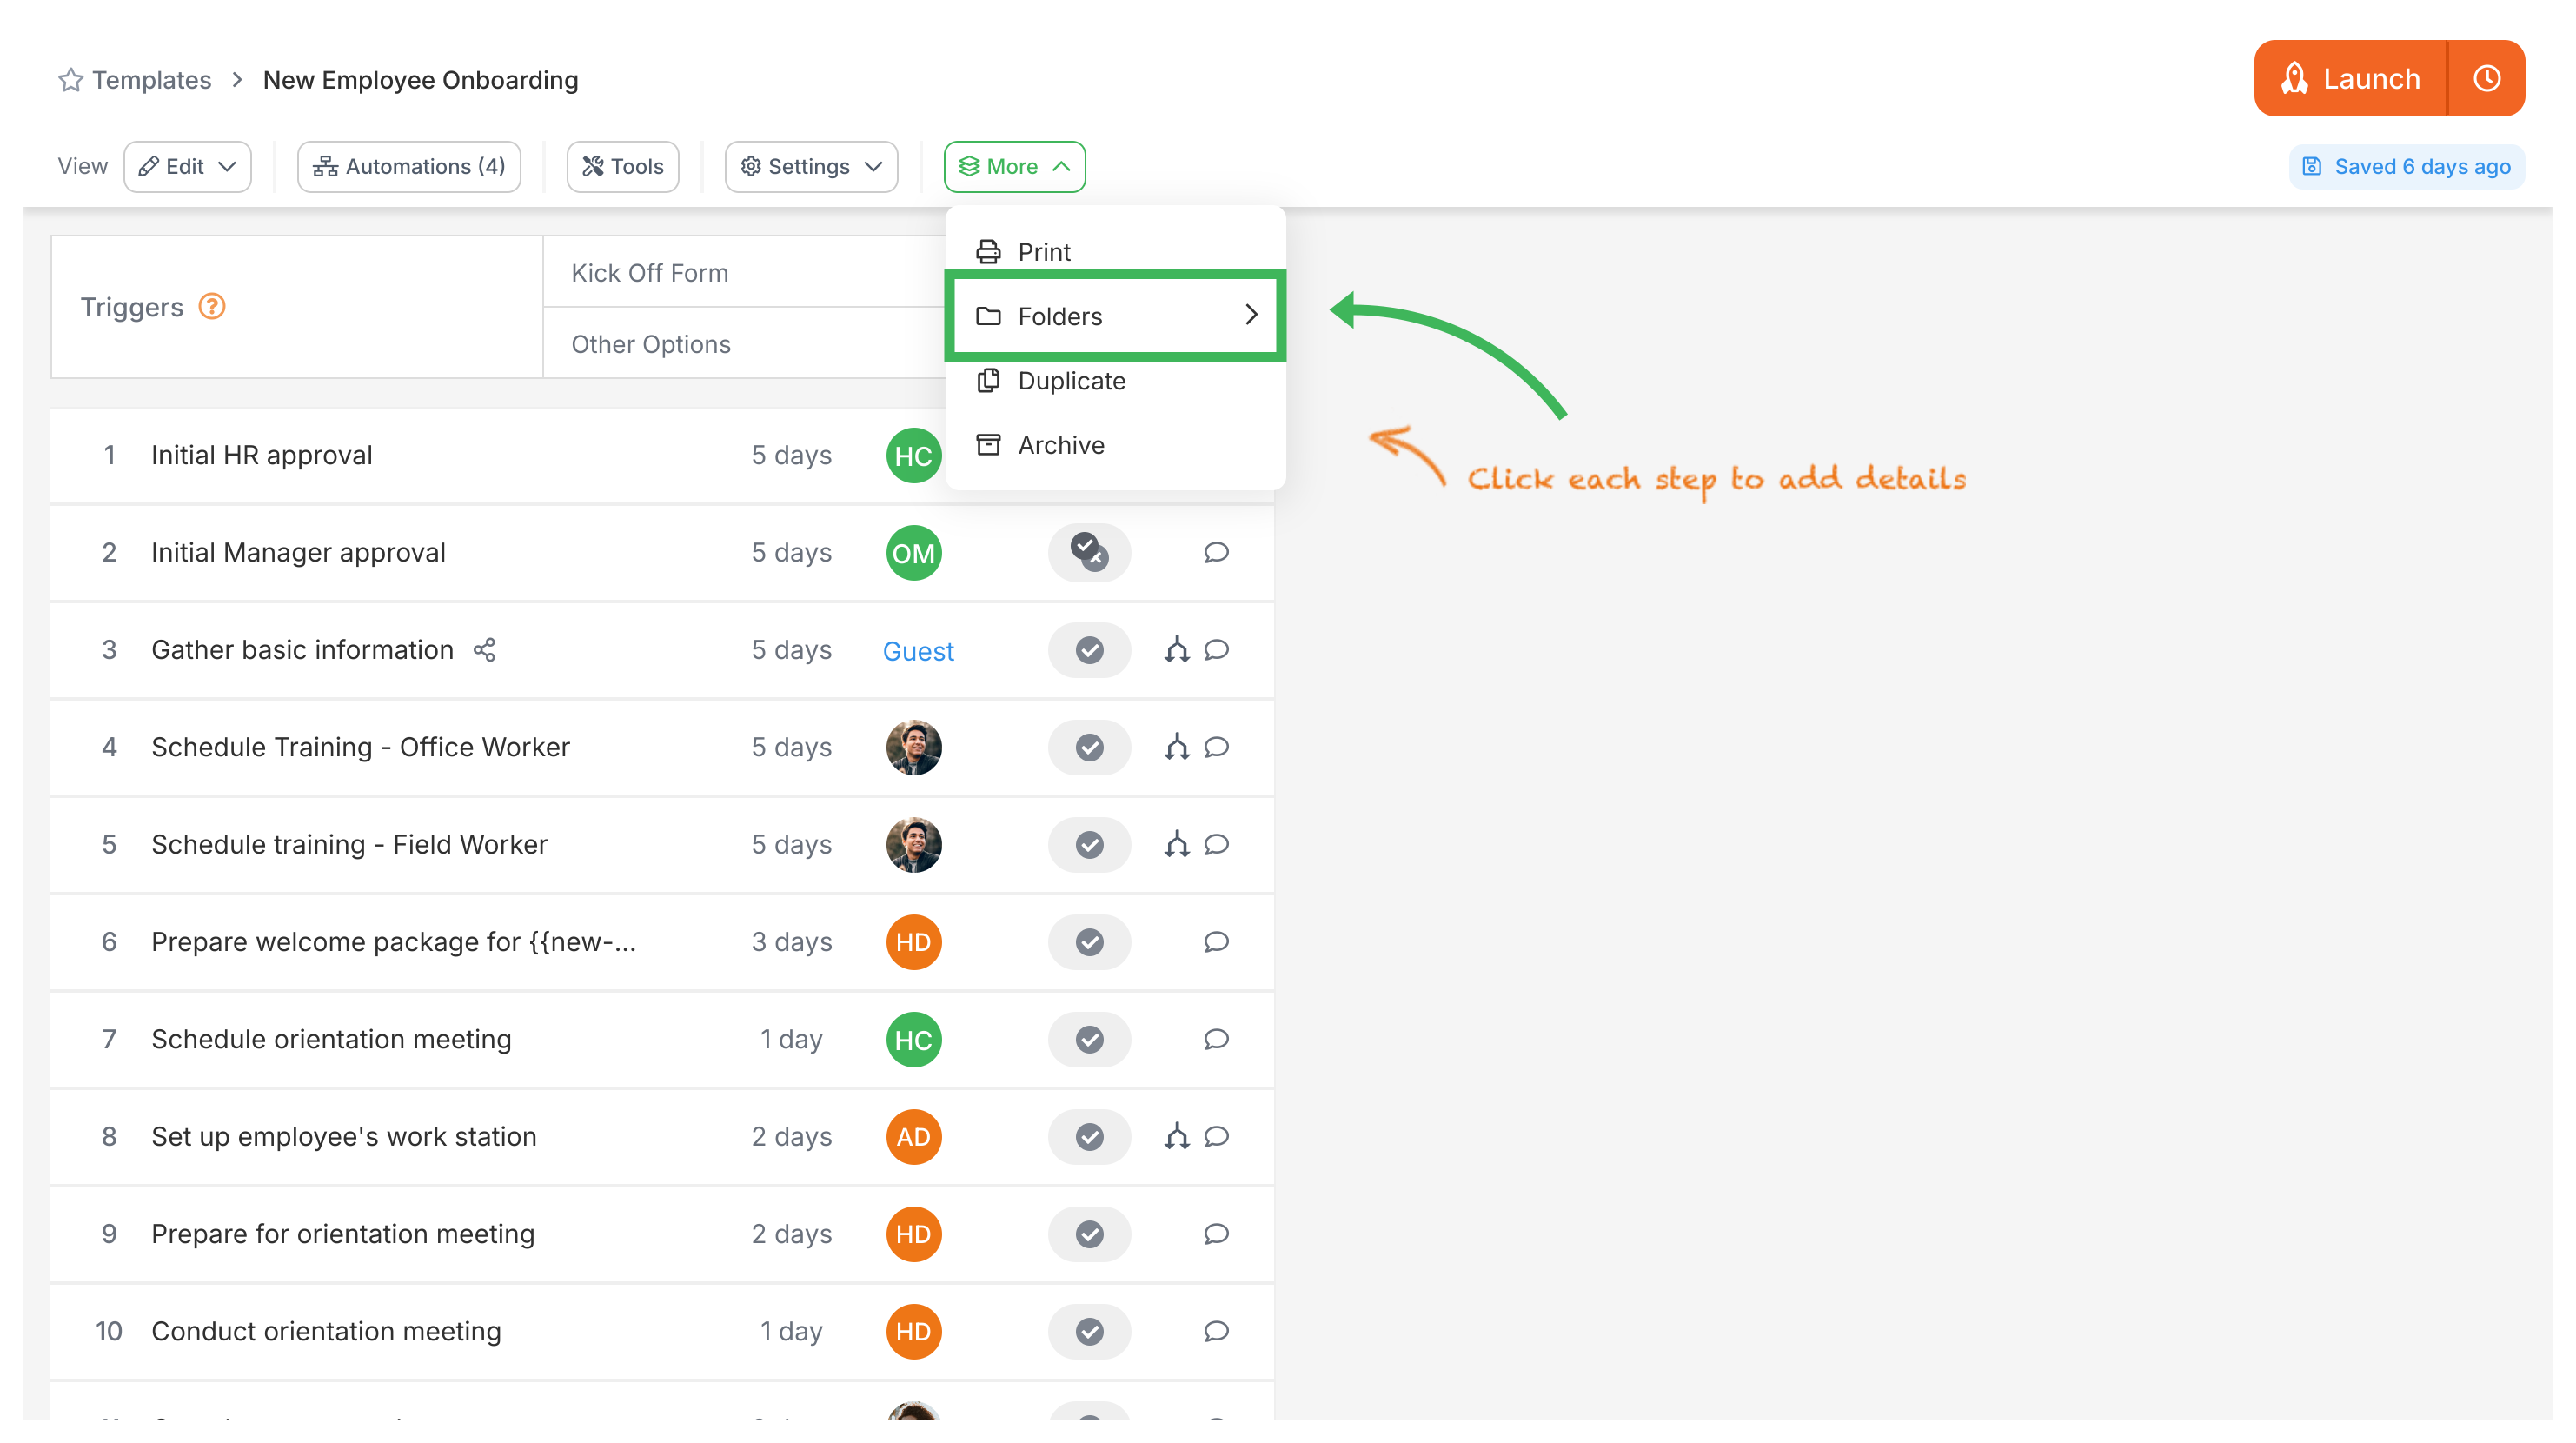
Move templates into specific folders to keep your library organized. See Organize Templates into Folders.
Add details and set options that help others understand and use your template.
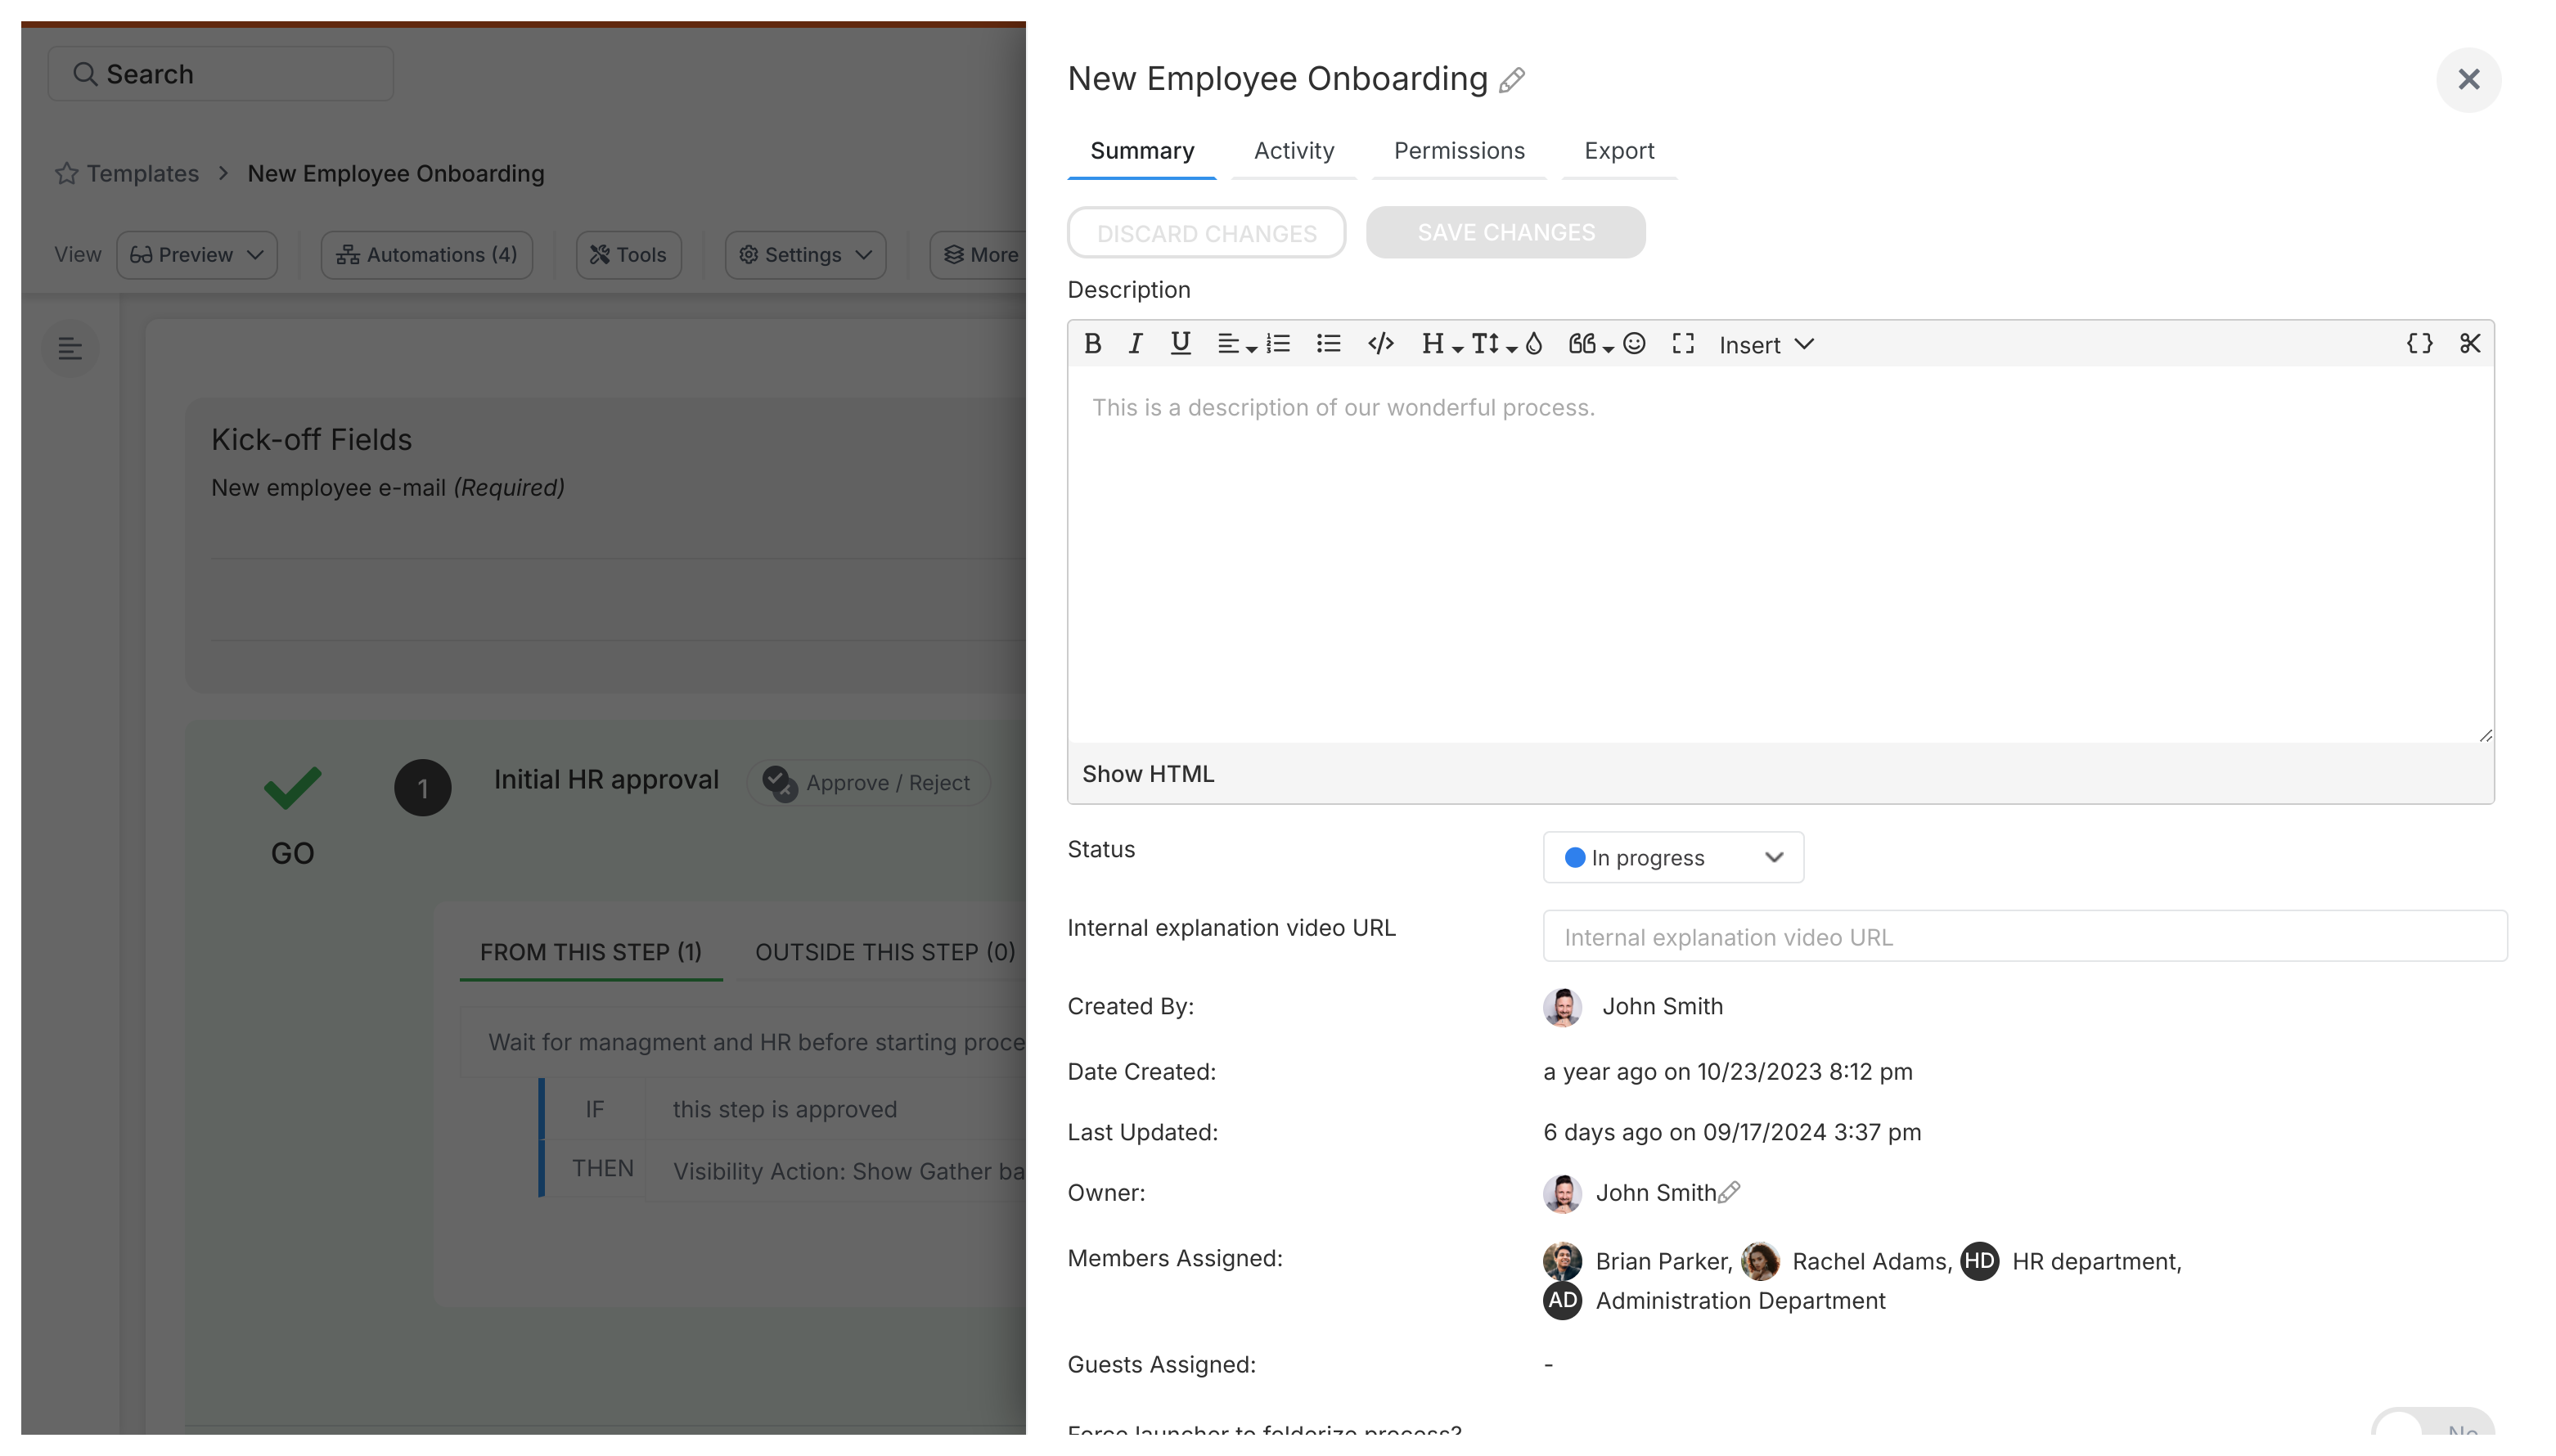
- Description: Add notes explaining what the template is for.
- Status: Set a status like “Published” or “In Progress” to show if the template is ready to use. This status shows up in the main Templates section.
- Internal explanation video URL: Add a link (URL) to a video explaining the template. If you add a URL, a video icon appears next to the template in the Templates section for others to click.
- General information: Shows who created the template, when it was last updated, etc.
- Force launcher to folderize process?: Turn this ON to make users choose or create a folder before they can start a process from this template. This helps keep running processes organized. You can also pick a default folder.
- Force launcher to tag process?: Turn this ON to make users add at least one tag (new or existing) to a process before they can start it. This helps categorize running processes so they’re easier to find later.
- Original document: Upload the original file (like a Word doc or PDF) that this template was based on, for reference.
- Template tags: Add tags to this template itself to help organize your templates.
- Special instructions: Add notes that people will see right before they launch a process from this template. Use this for important reminders or instructions.
- Webhook settings: Set up automatic notifications to other apps when tasks in this template are completed.
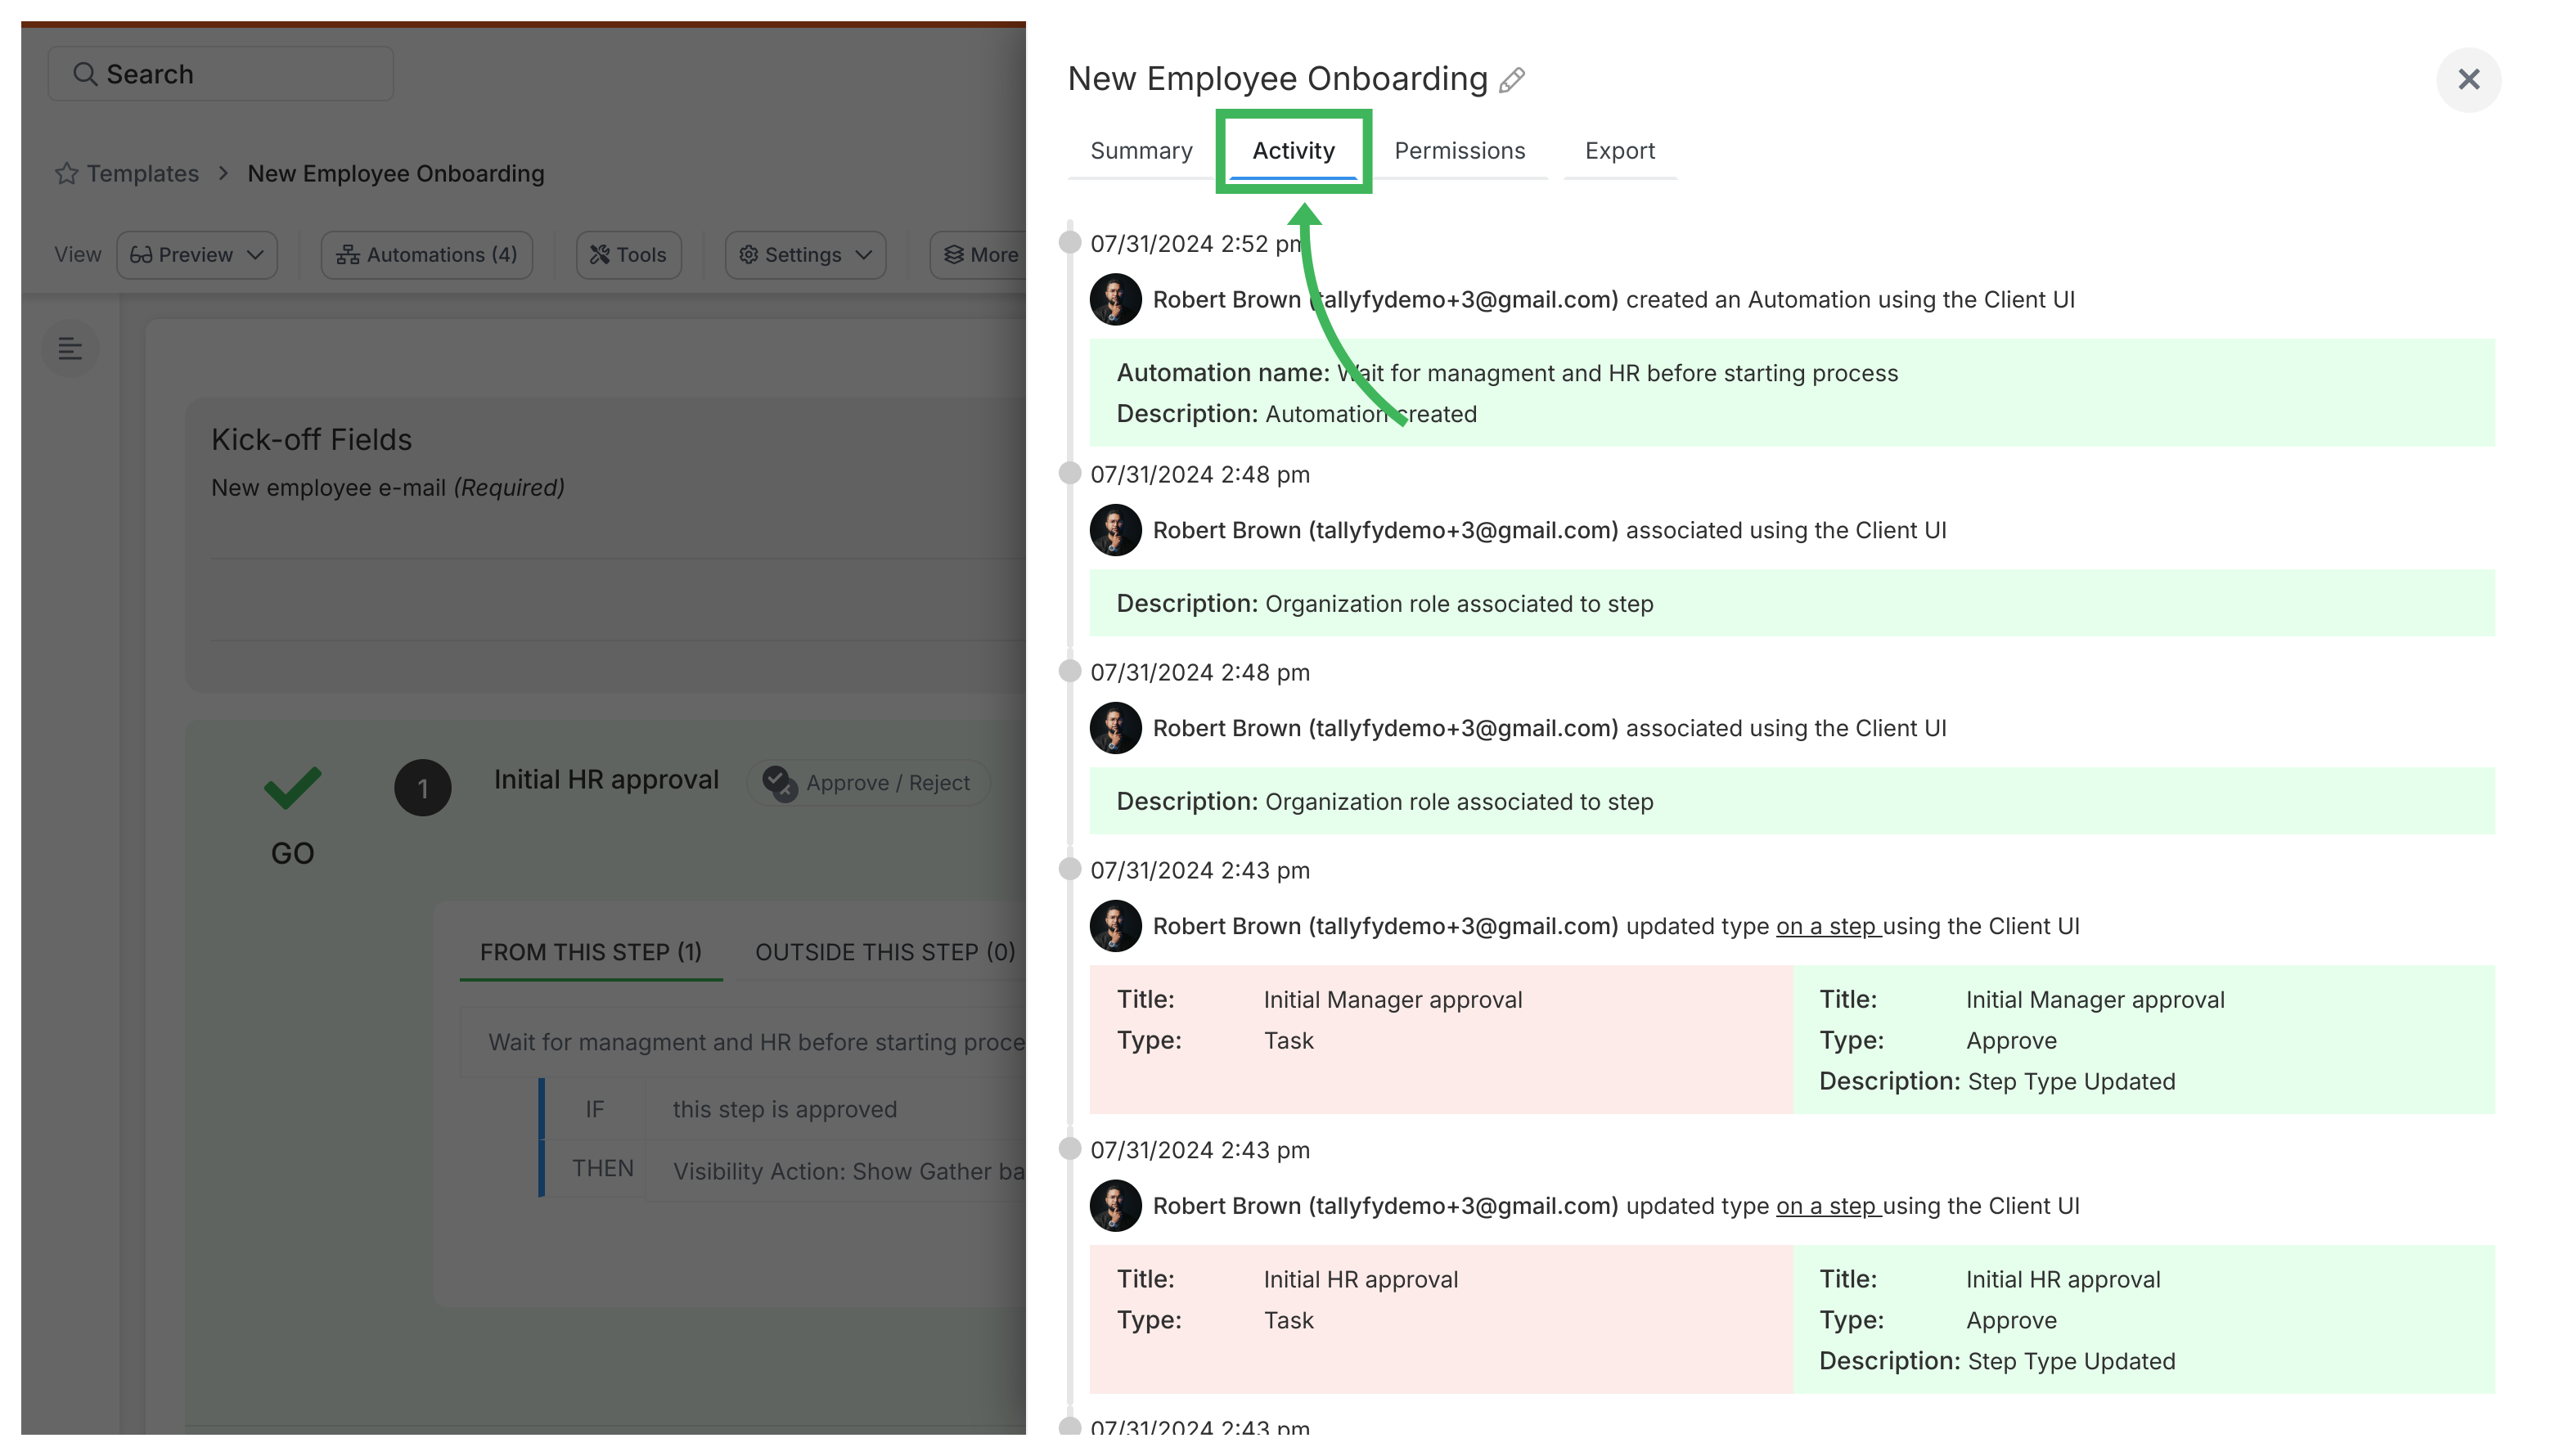
The Activity tab shows all template changes - who made them and when.
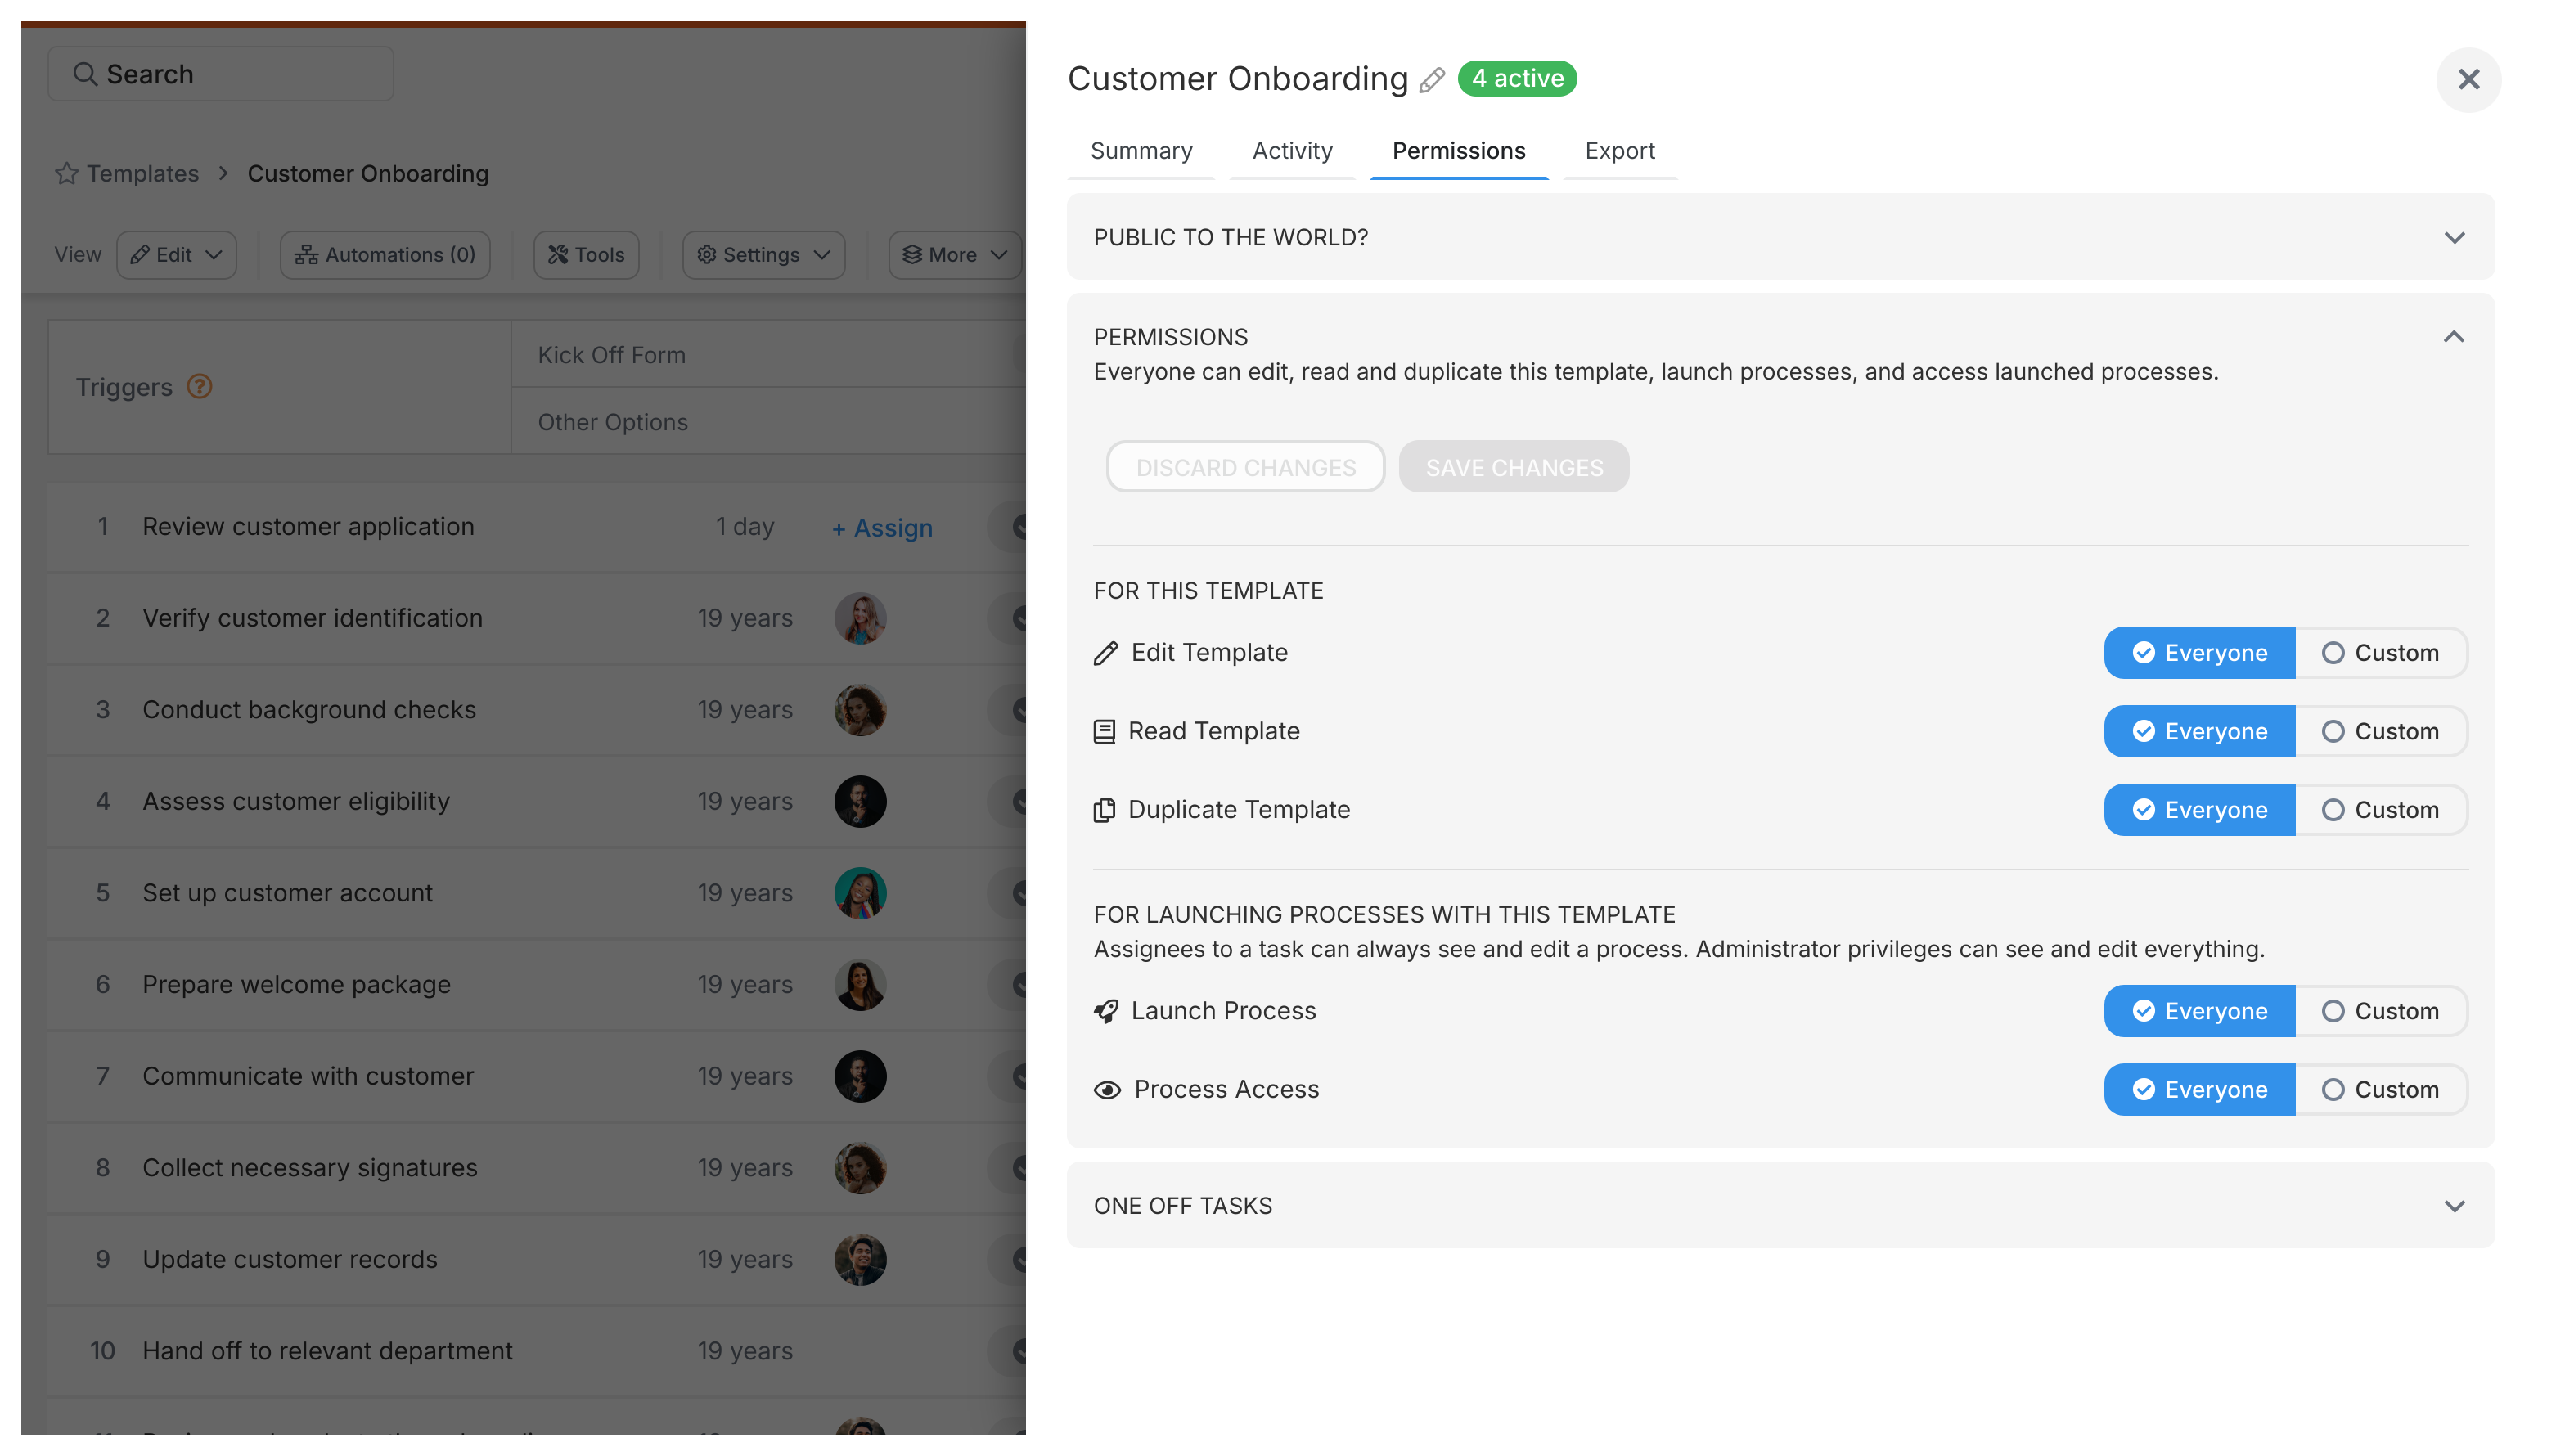
You can make templates public so anyone can see them in the public library.
Control who can edit, view, or duplicate this specific template. You can allow everyone in your organization or choose specific people or groups.
Key permission types:
- EDIT: Allows users to modify the template
- READ: Allows users to view the template details
- LAUNCH: Allows users to start new processes from the template
To completely hide a template from specific Standard or Light users, ensure all three permissions are restricted for those users.
Control who can start new processes using this template. You can also control who can see the running processes created from this template. You can allow everyone or choose specific people or groups.
You’ll need to decide if people can add extra, unplanned tasks to running processes. Look for the setting “Can people add one-off tasks to this process?”
- Yes (Default): Anyone involved can add extra tasks to processes launched from this template.
- No: Only Administrators can add extra tasks. Standard and Light members cannot.
Set this to No for processes that must strictly follow defined steps - compliance or safety procedures.
This section has the IDs for integrations or support.
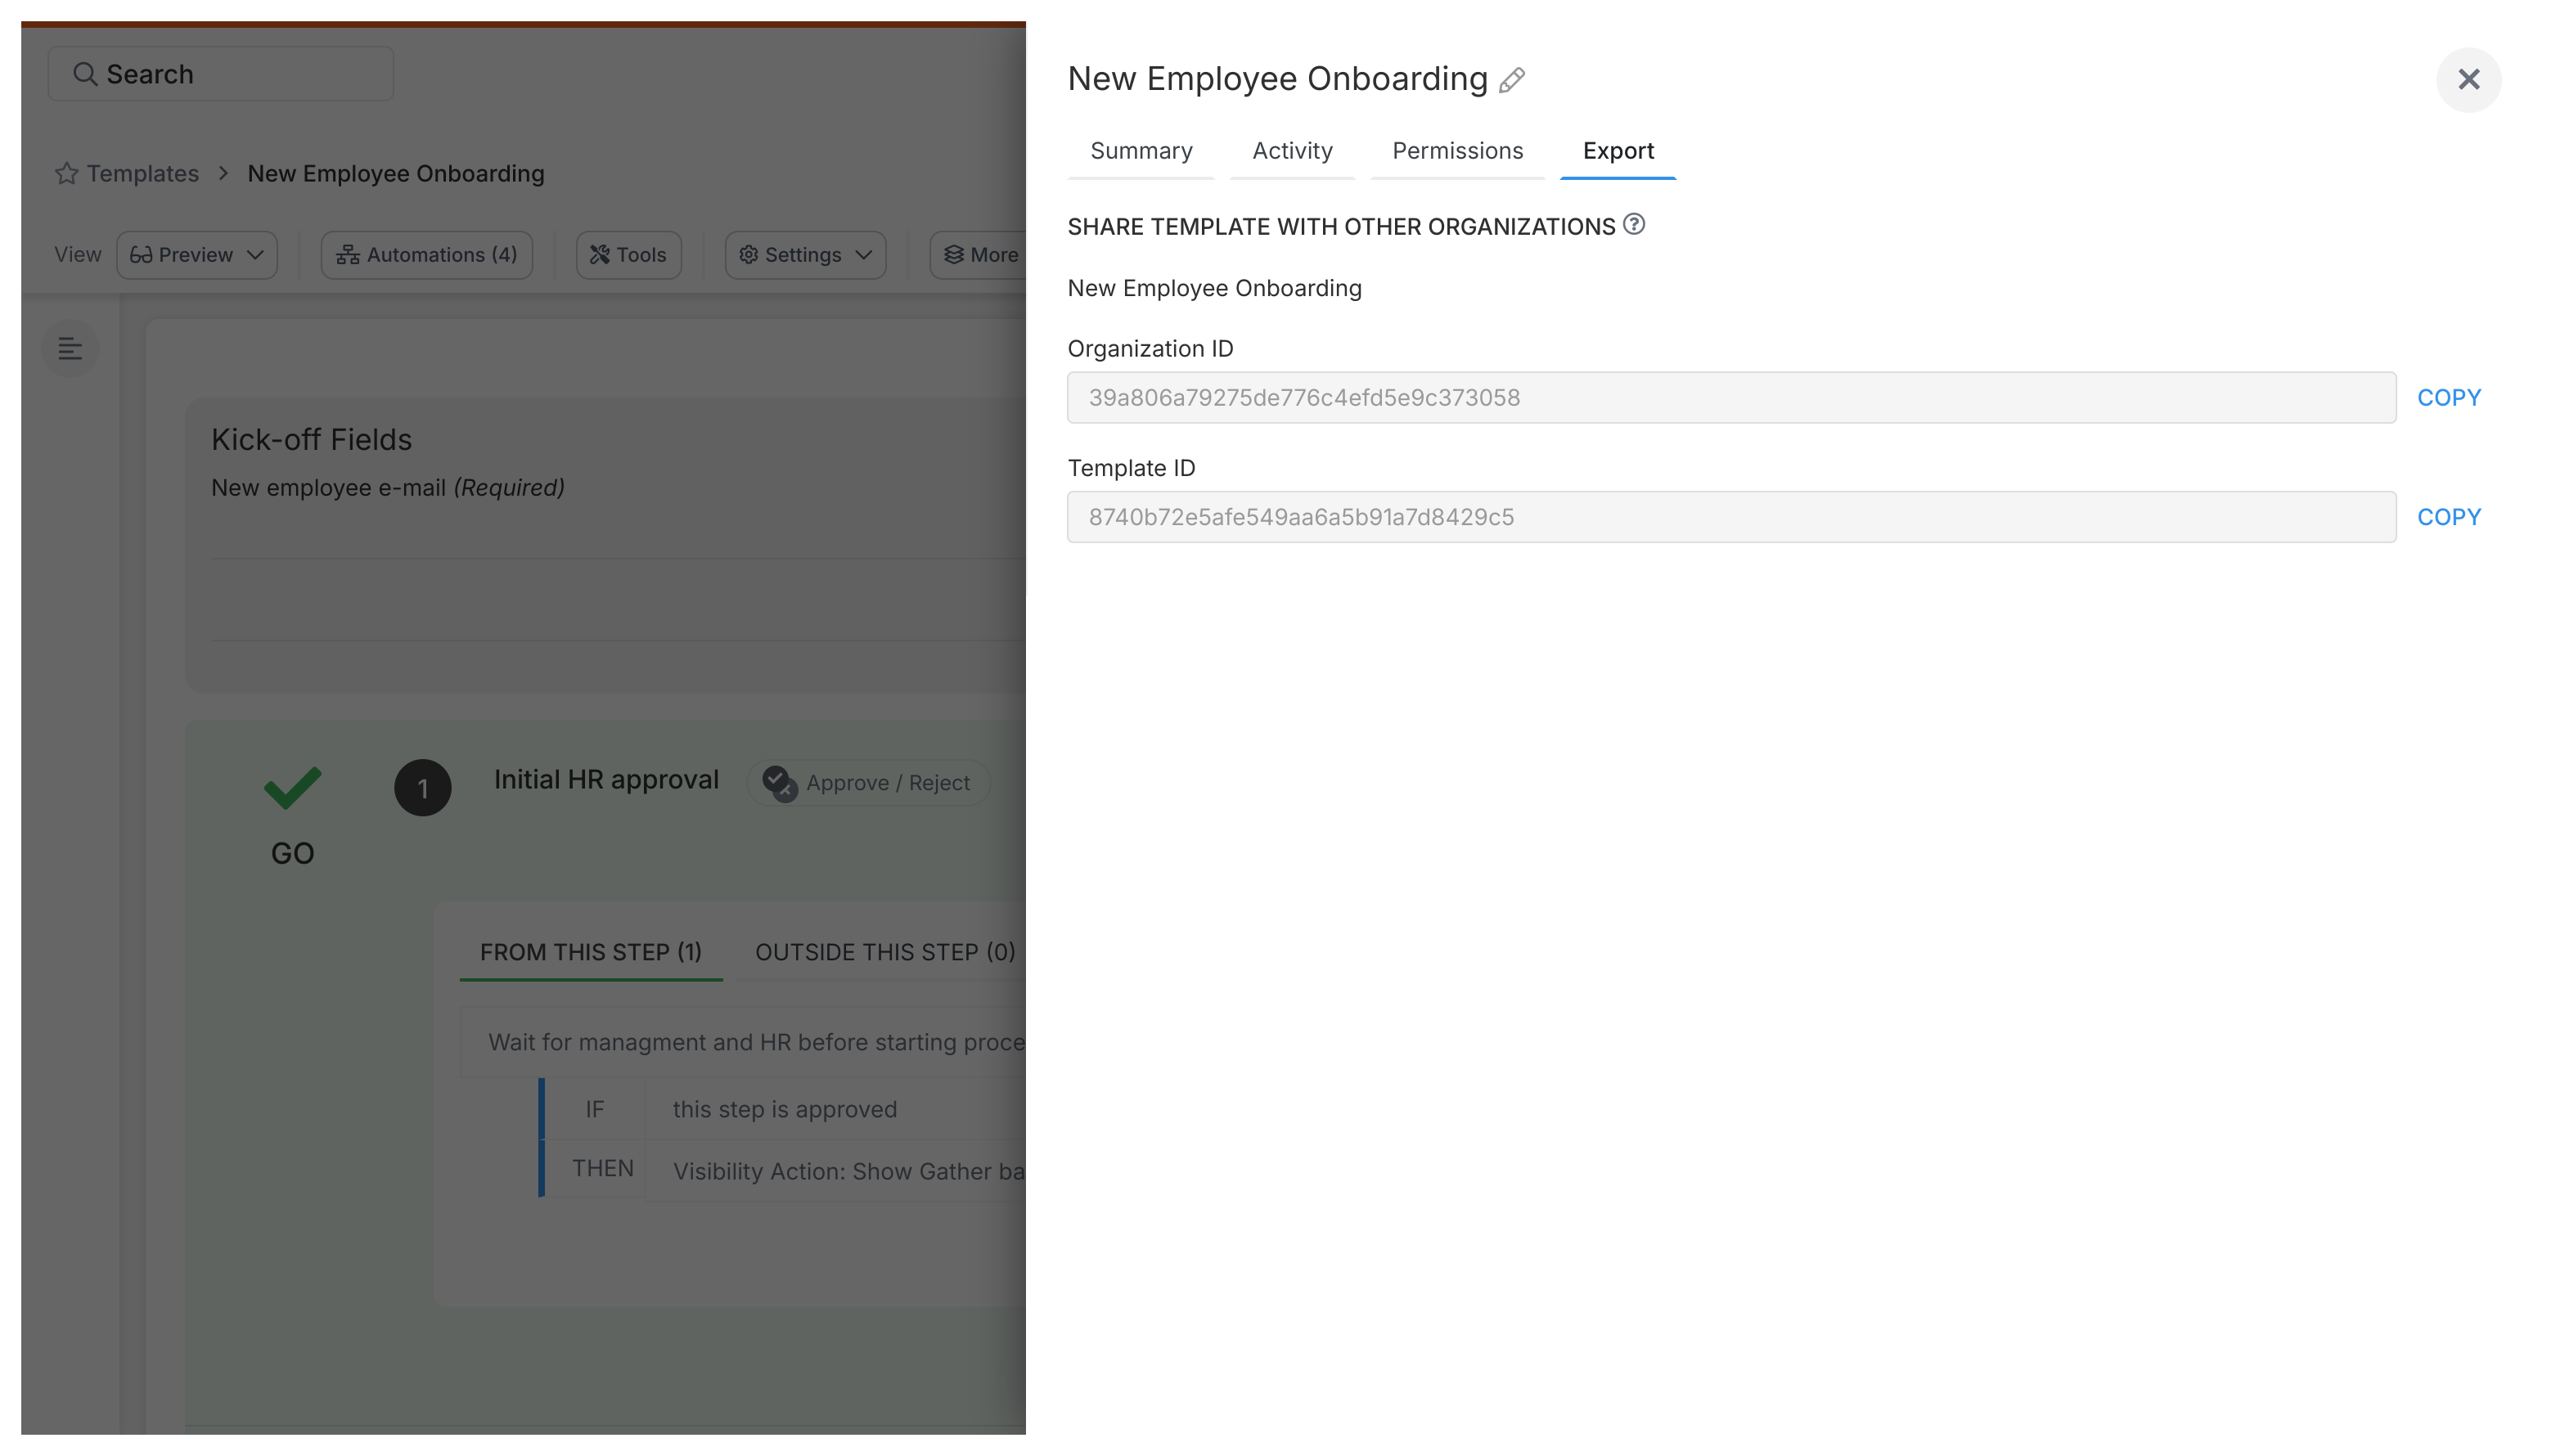
- Org ID: Your organization’s unique ID.
- Template ID: This template’s unique ID.
You’ll need these IDs when:
- Contacting Tallyfy support.
- Setting up integrations with other tools.
- Copying this template to a different Tallyfy organization using the Template Importing feature.
Consultants often build templates in one organization and deploy them in another.
Templates > Publish a template
Was this helpful?
- 2025 Tallyfy, Inc.
- Privacy Policy
- Terms of Use
- Report Issue
- Trademarks